When I first started this blog I knew I wanted to dedicate a post to drying flowers because I used to think it was something hard to do, but I can honestly tell you it’s easy. Freshly cut flowers are beautiful, but they don’t last more than a week. A bouquet isn’t exactly easy on the wallet, so by drying them I’ve managed to salvage every rose that Joseph has ever bought me. Hopefully these last for another 50 years to come :D. Through trial and error and sheer determination, these are the steps that I take to dry these beauties and it works every time!


1) Begin with freshly cut flowers – this was my birthday bouquet, and not too long ago I also did my engagement bouquet. Unfortunately I don’t often let fresh flowers spend any time in a vase. When they soak in water, the petals open up quickly and once they start to wilt it’s very difficult to save them from falling off completely. Although fresh flowers are beautiful for display, it’s also very disheartening to see a flower lose its petals. So instead, I like to save the bouquet by immediately drying it up in order to preserve its shape. I’ve also waited a few days before doing so without inflicting harm, but once I see a flower head bend over then I know it’s time to dry.
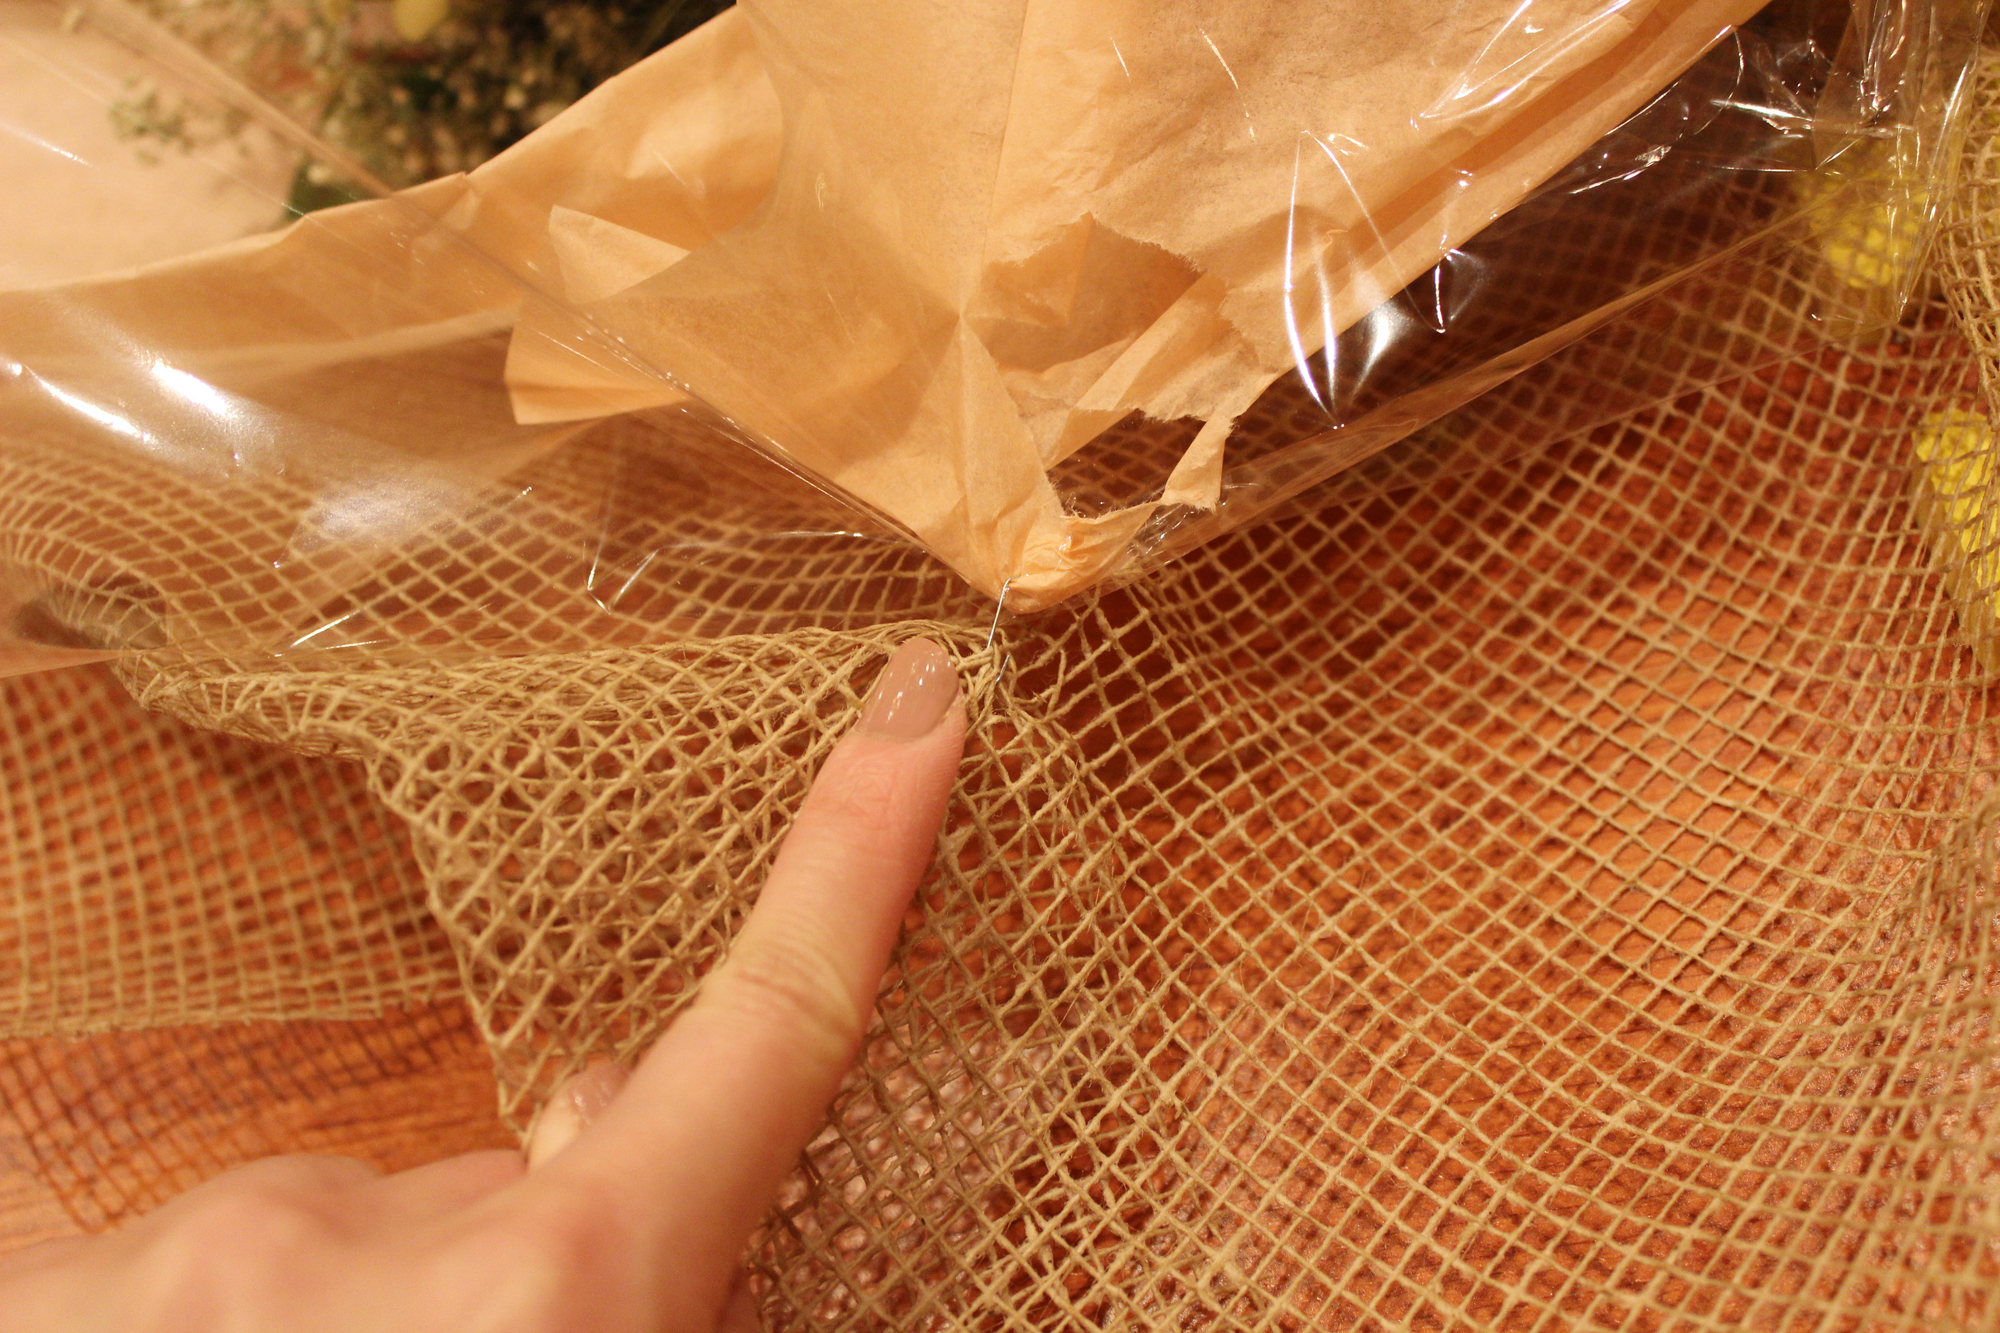
2) Rip apart the packaging and remove any staples! I don’t like to dry flowers in their cellophane wrapping because the plastic doesn’t allow enough airflow through, and any increase in moisture can encourage the growth of mold (eww).
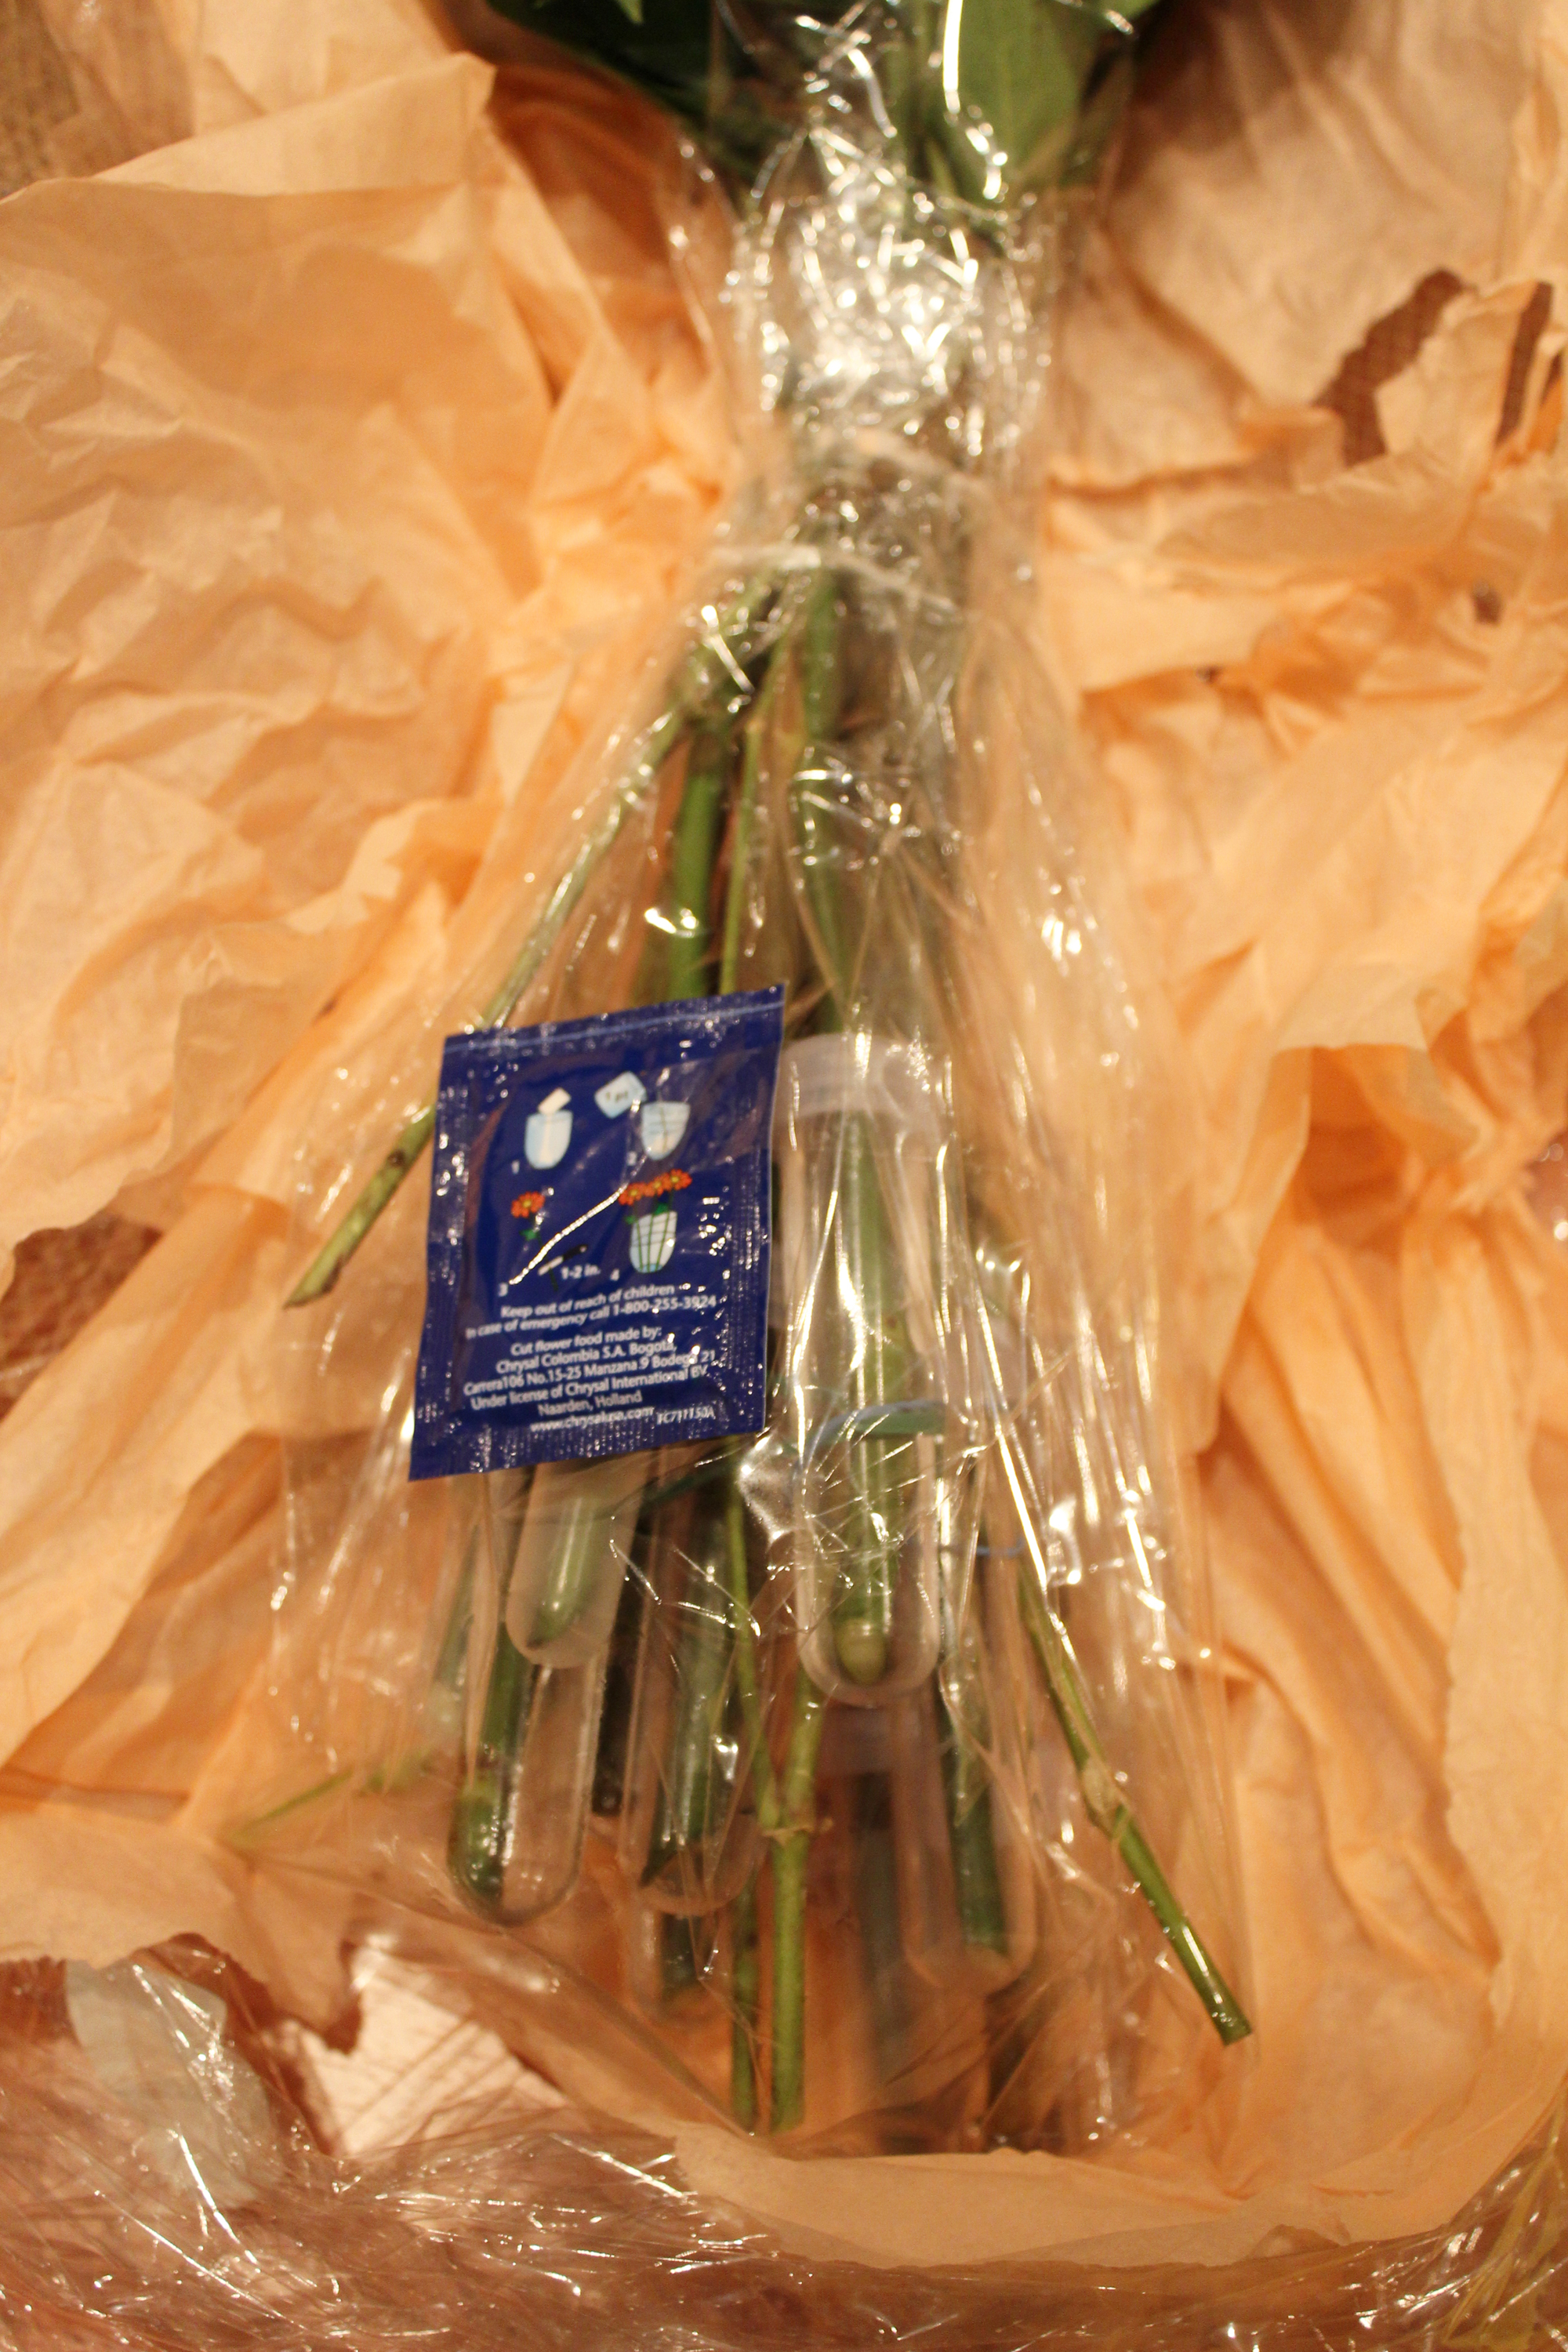
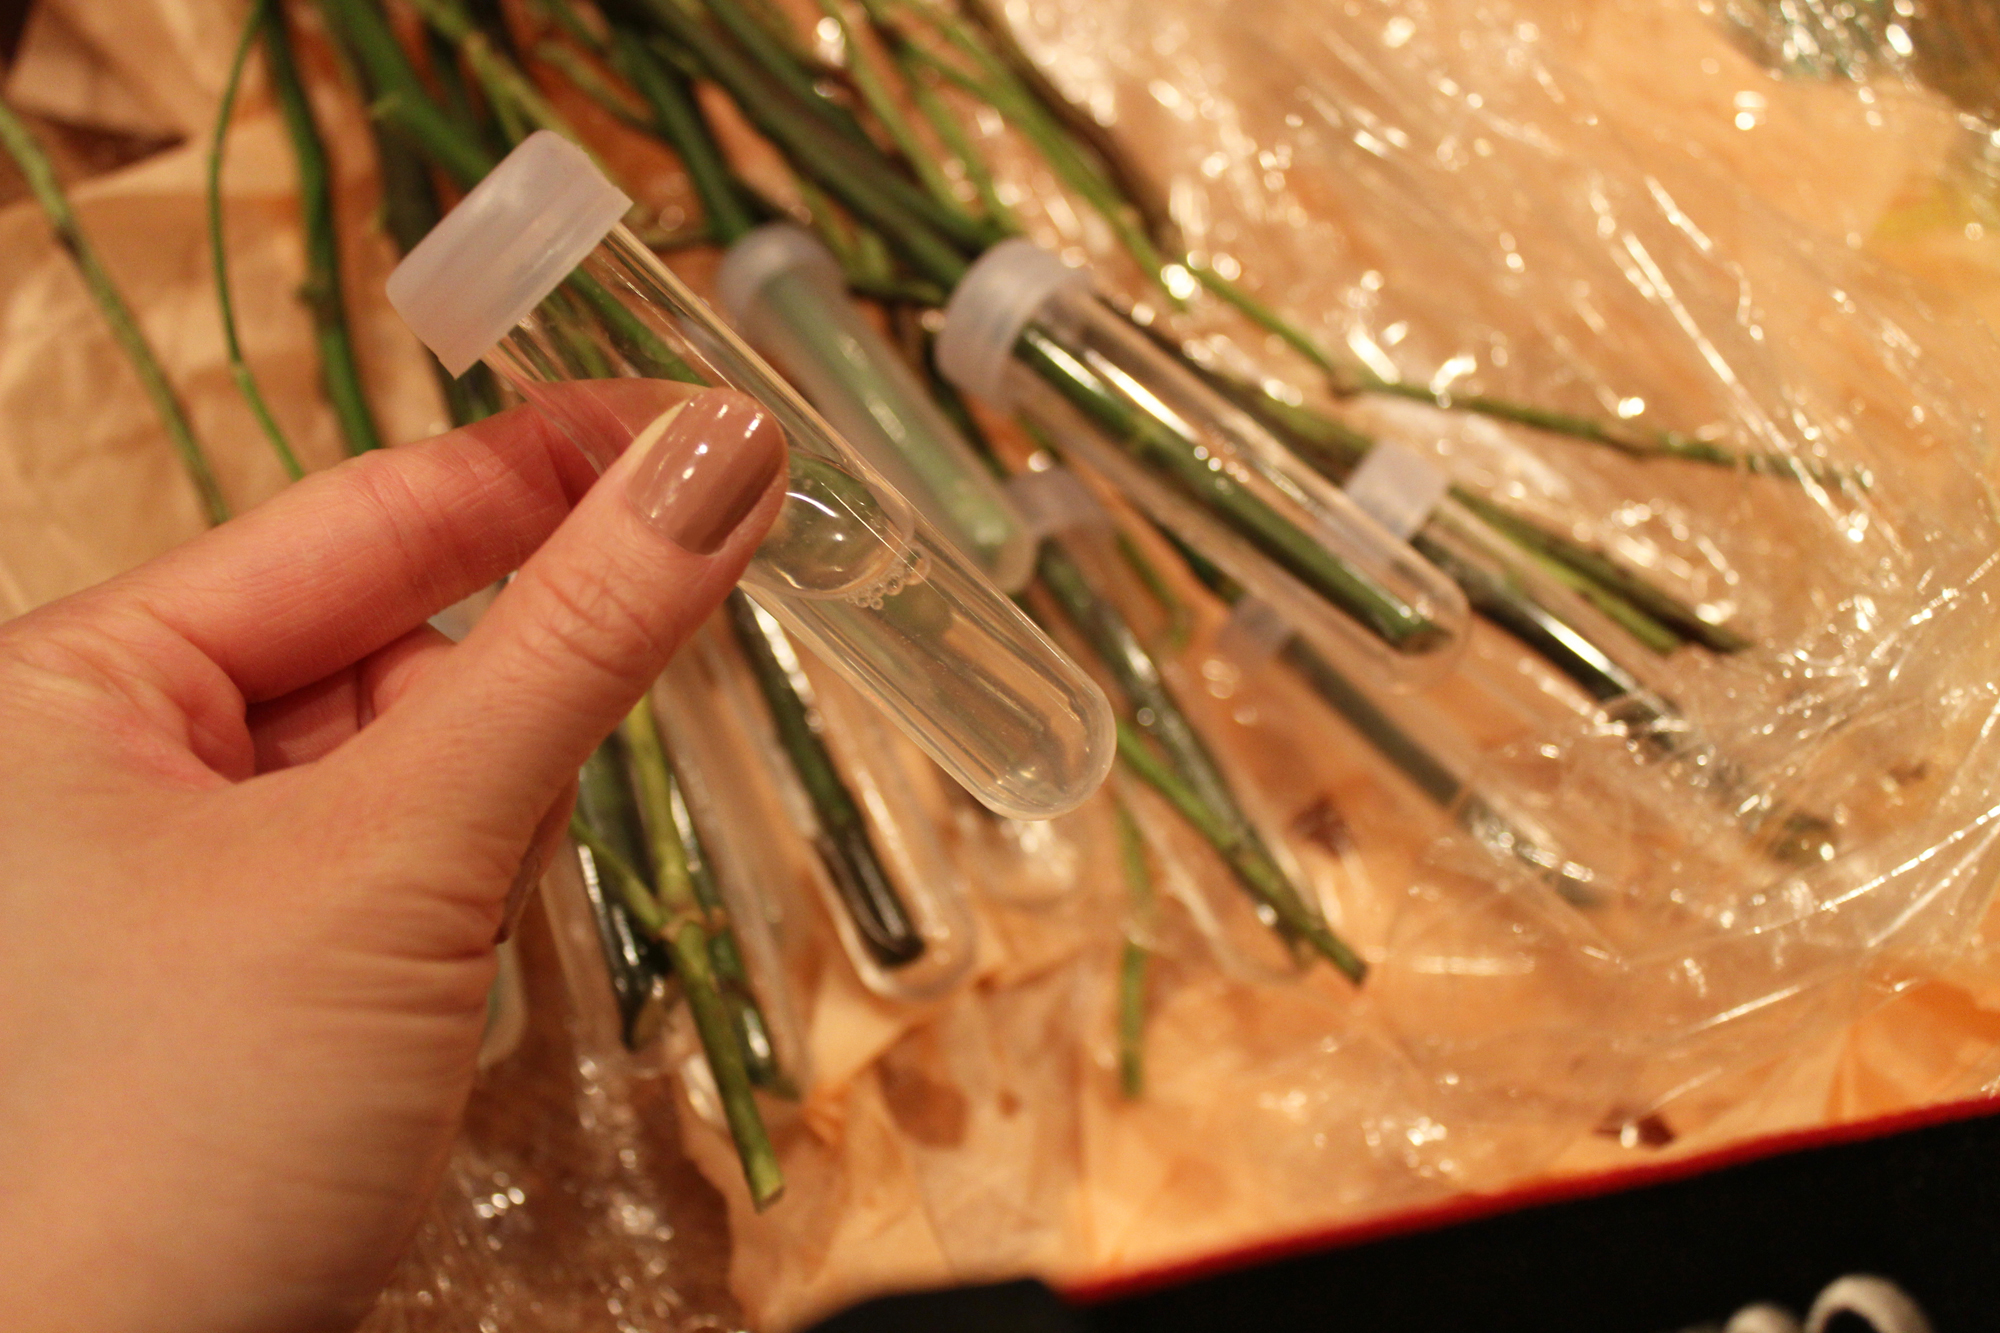
3) You’ll notice that the stems have been placed in a plastic vial of water to keep them fresh. Some vials have less water, hence some flowers always begin to wilt sooner than others. There is always a packet of life-prolonging crystals that are meant to be added to water in a vase, but that won’t be necessary here.
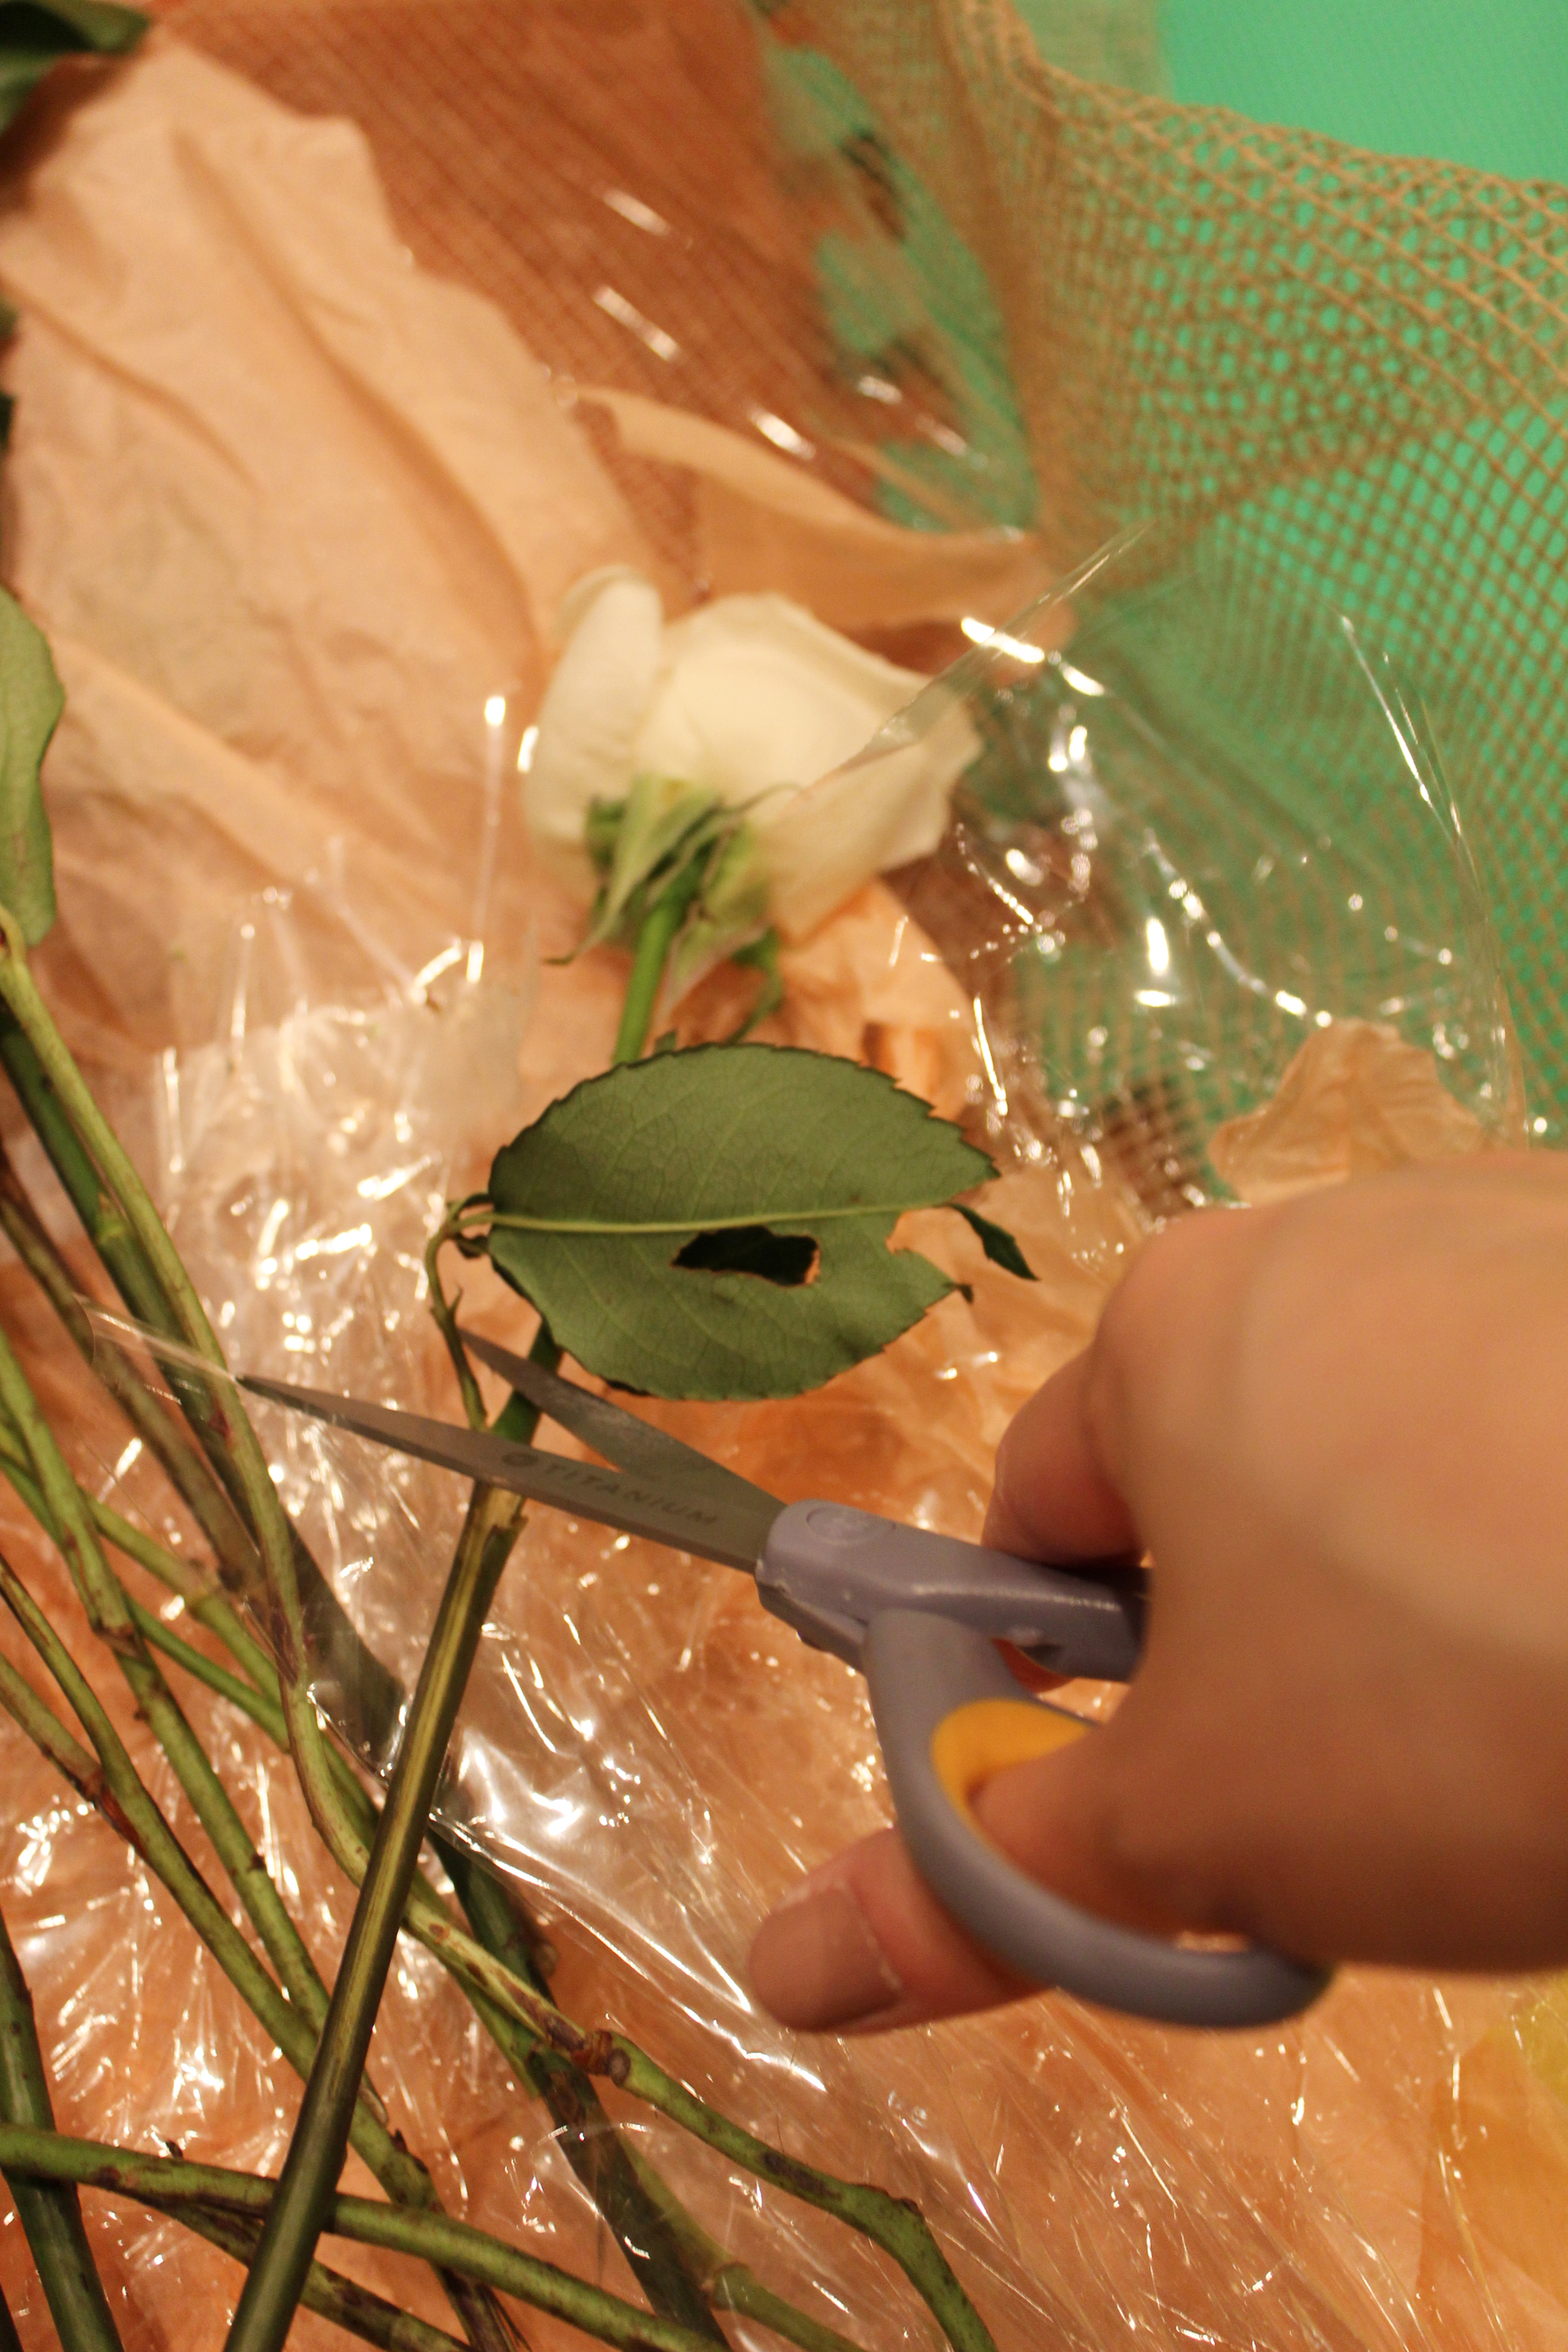
4) I like to cut off any leaves in order to clean up the look of the flower, and also because leaves don’t dry nicely (they shrivel up).
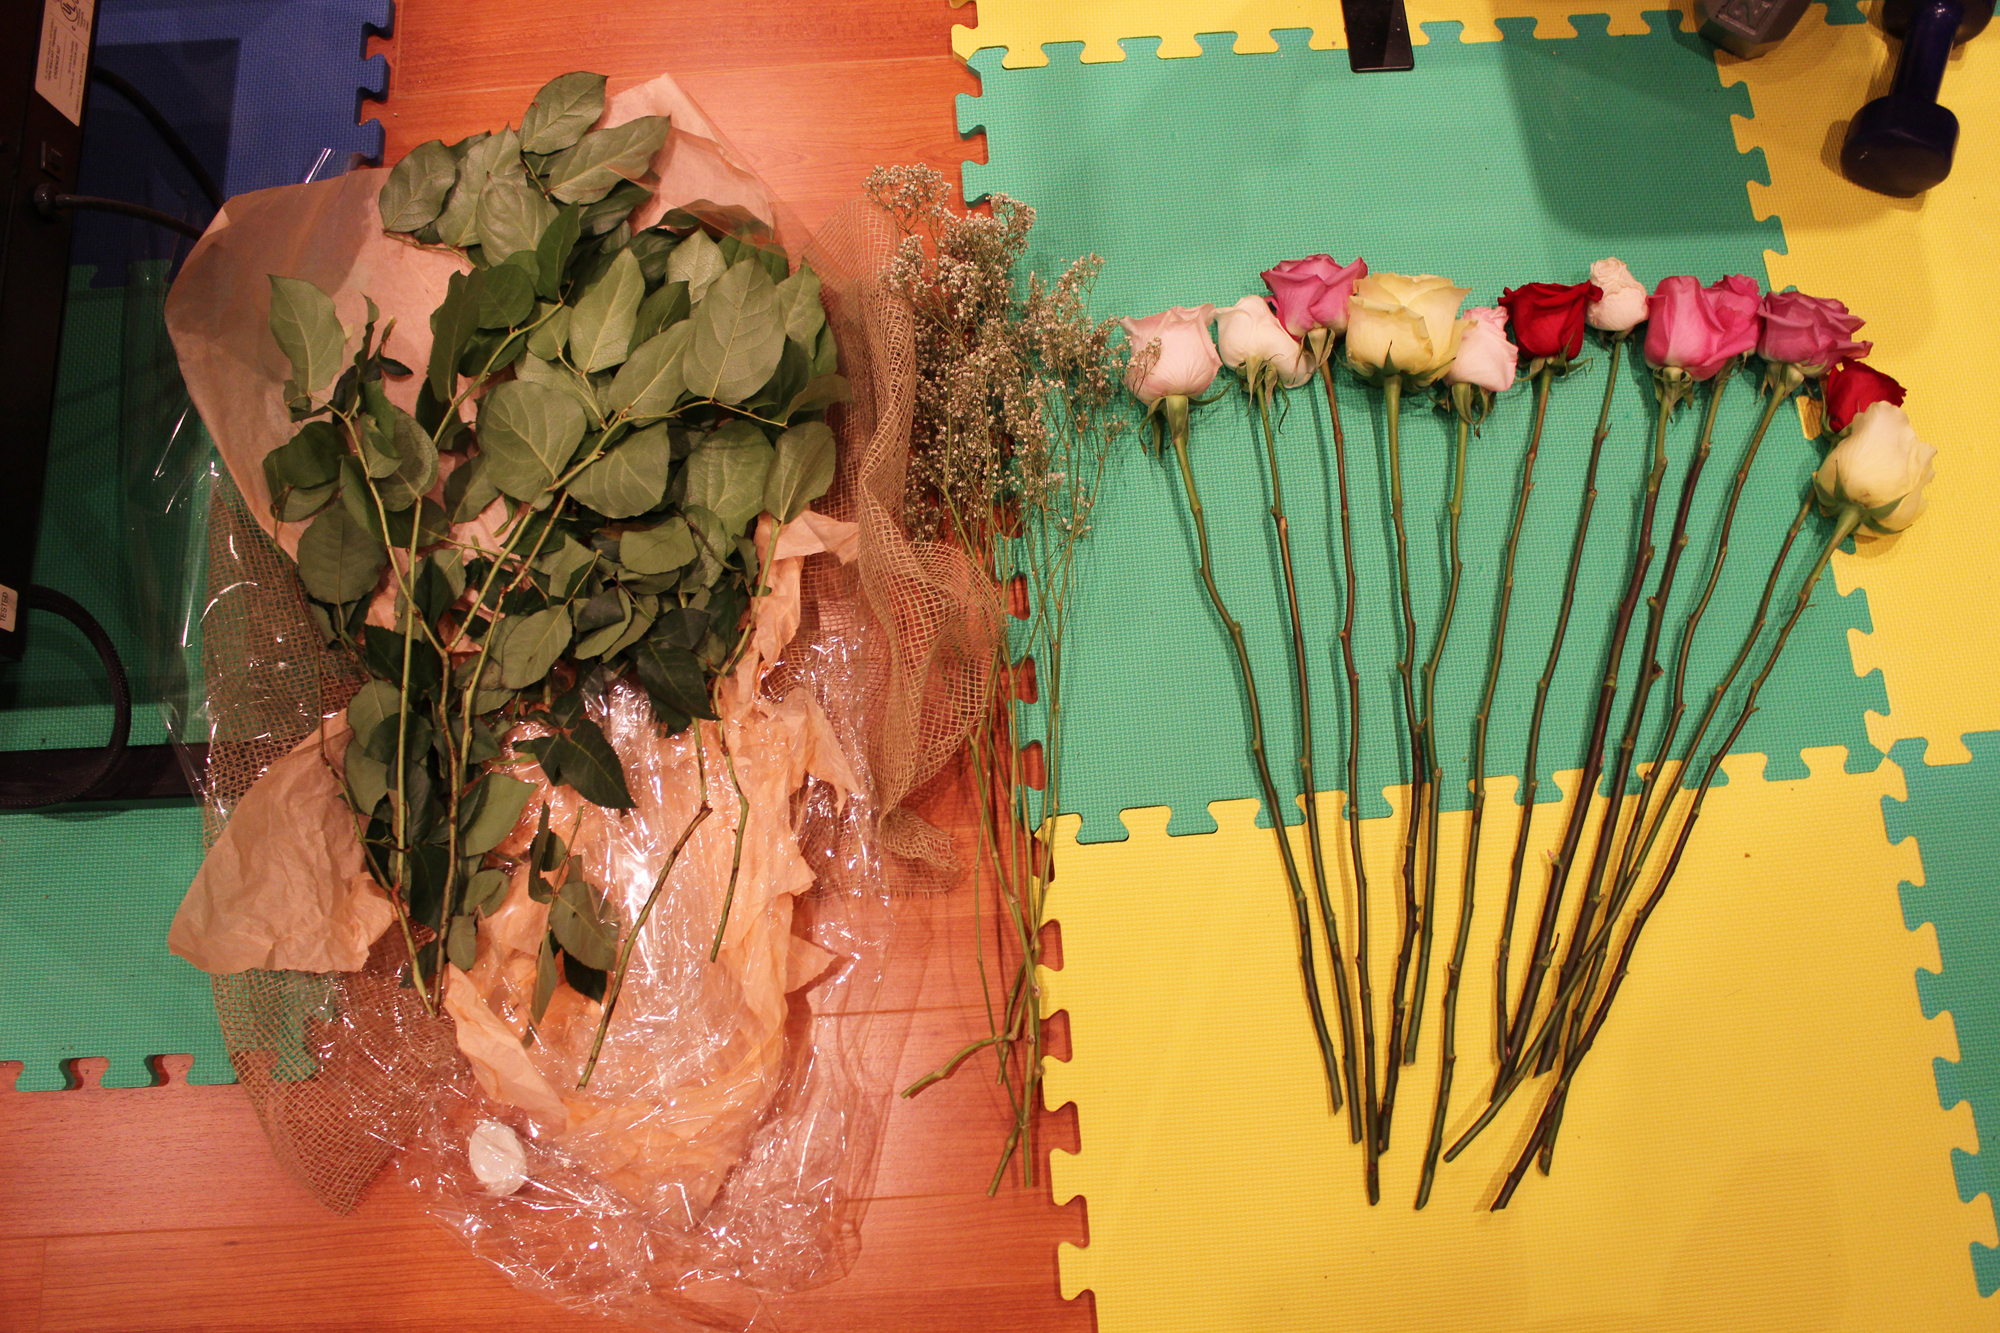
5) Left to right: leaves to be discarded, baby’s breath flowers, cleaned up roses
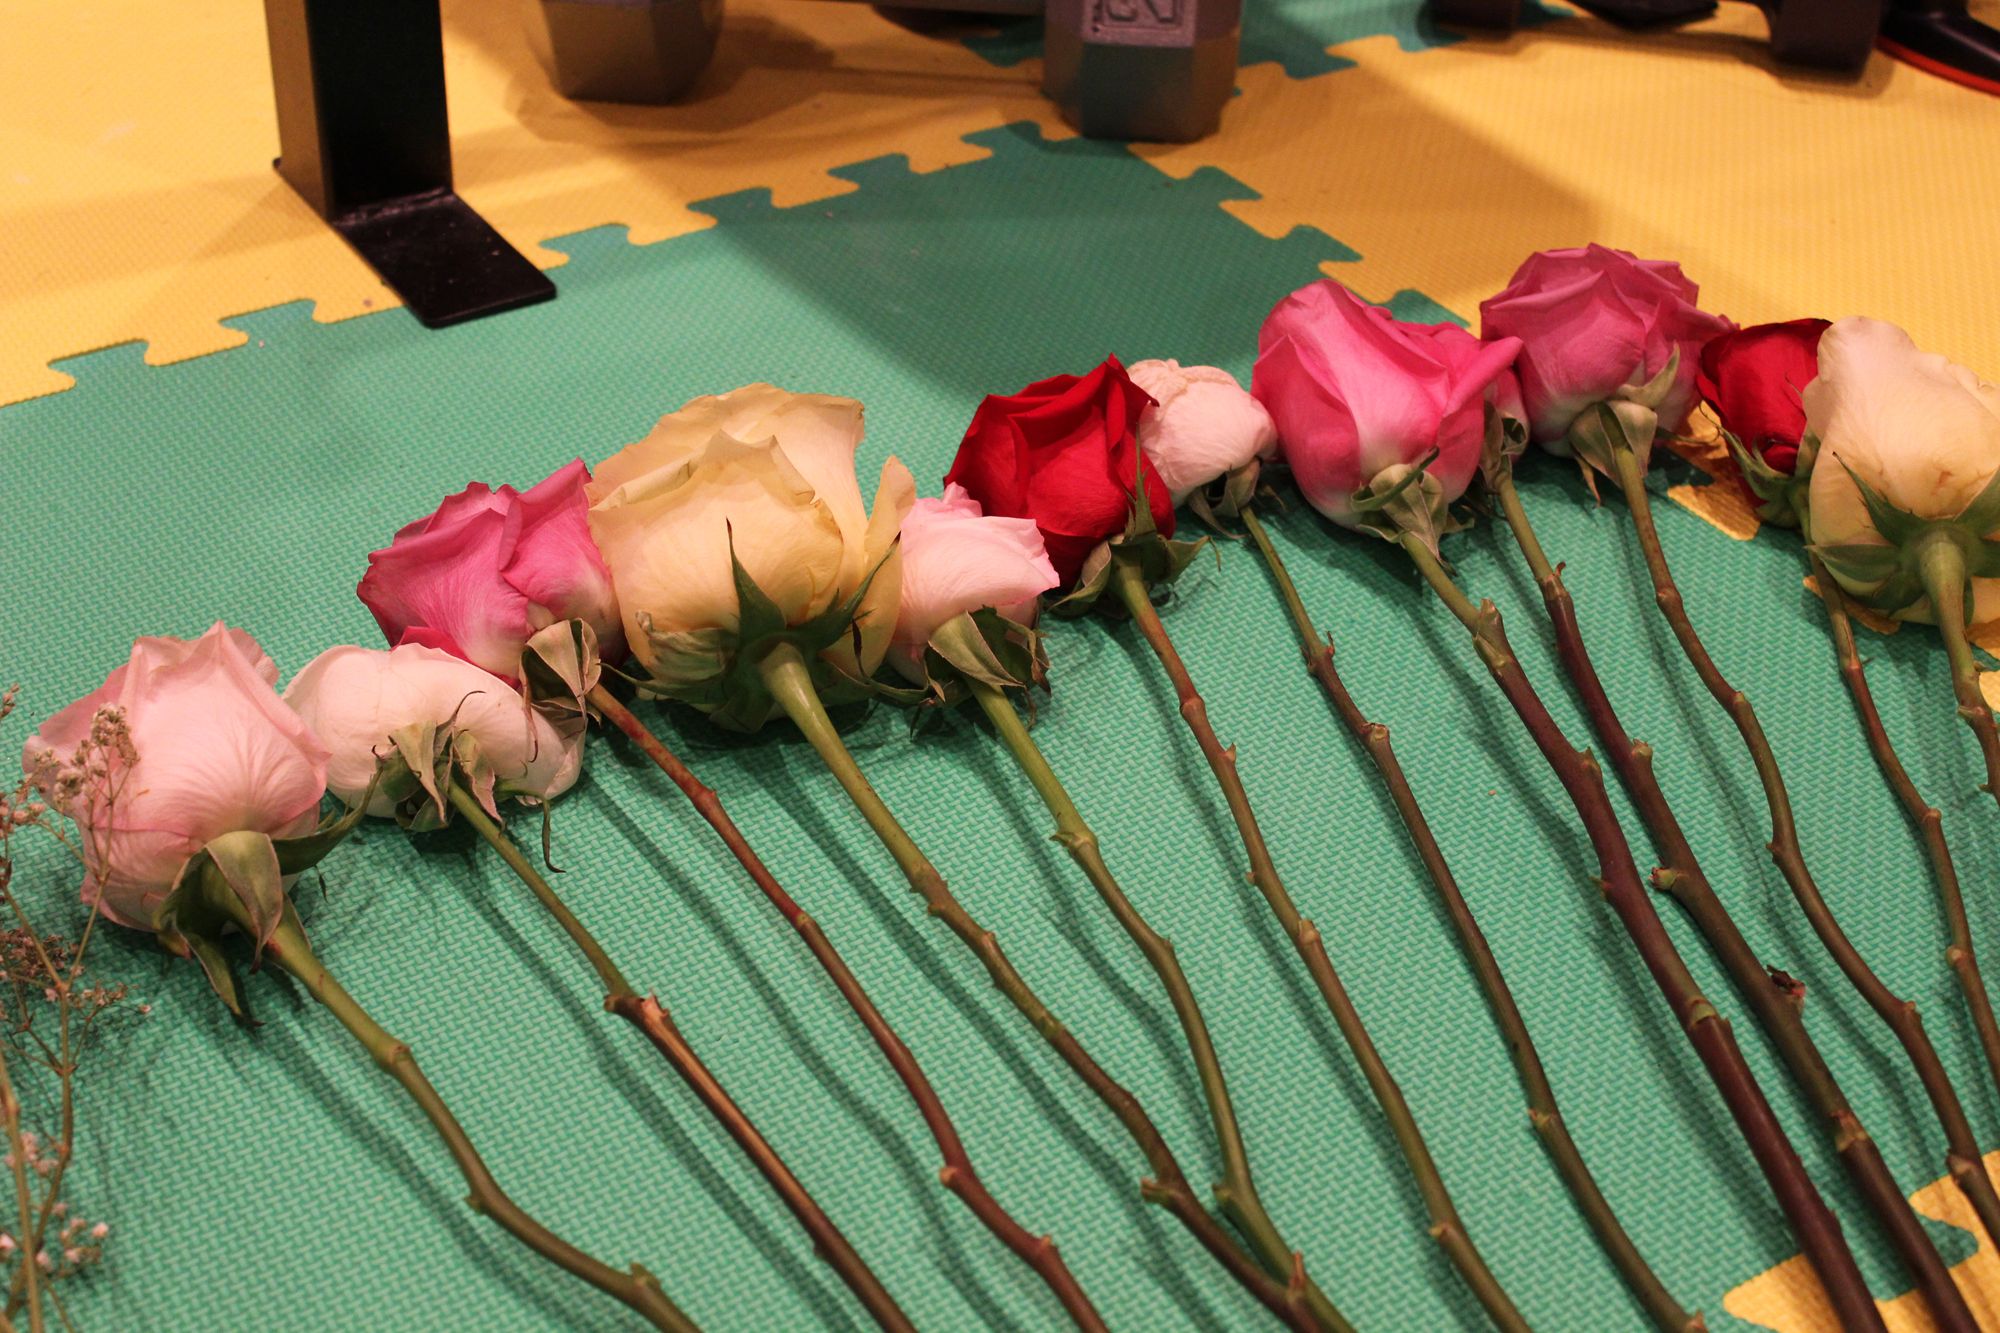
6) All prepped and ready to go
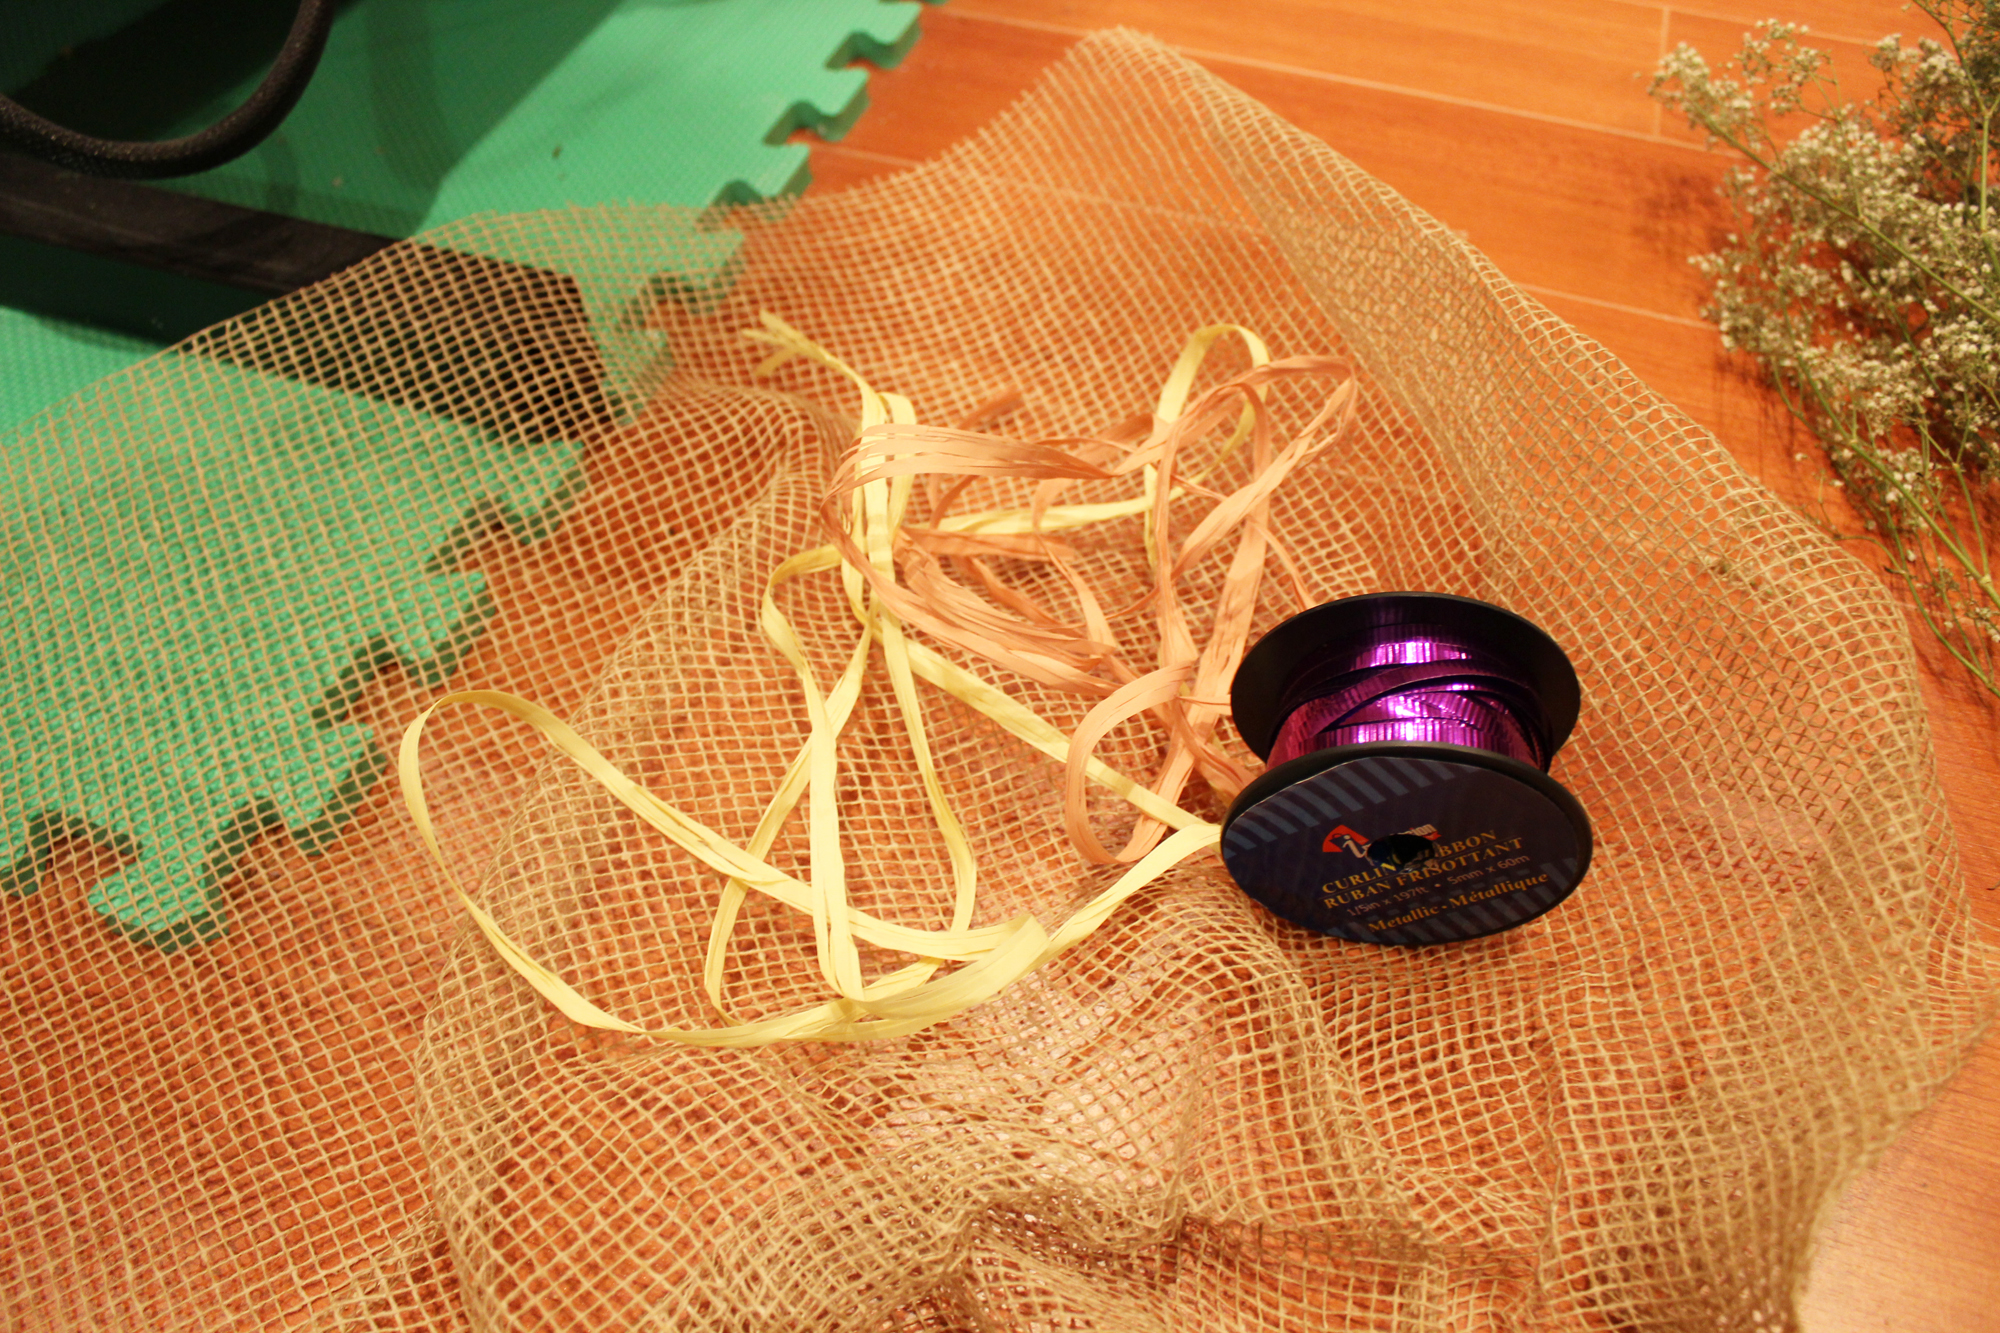
7) Grab some ribbon: this purple roll I got at a dollar store, and the yellow ribbon came with the bouquet.
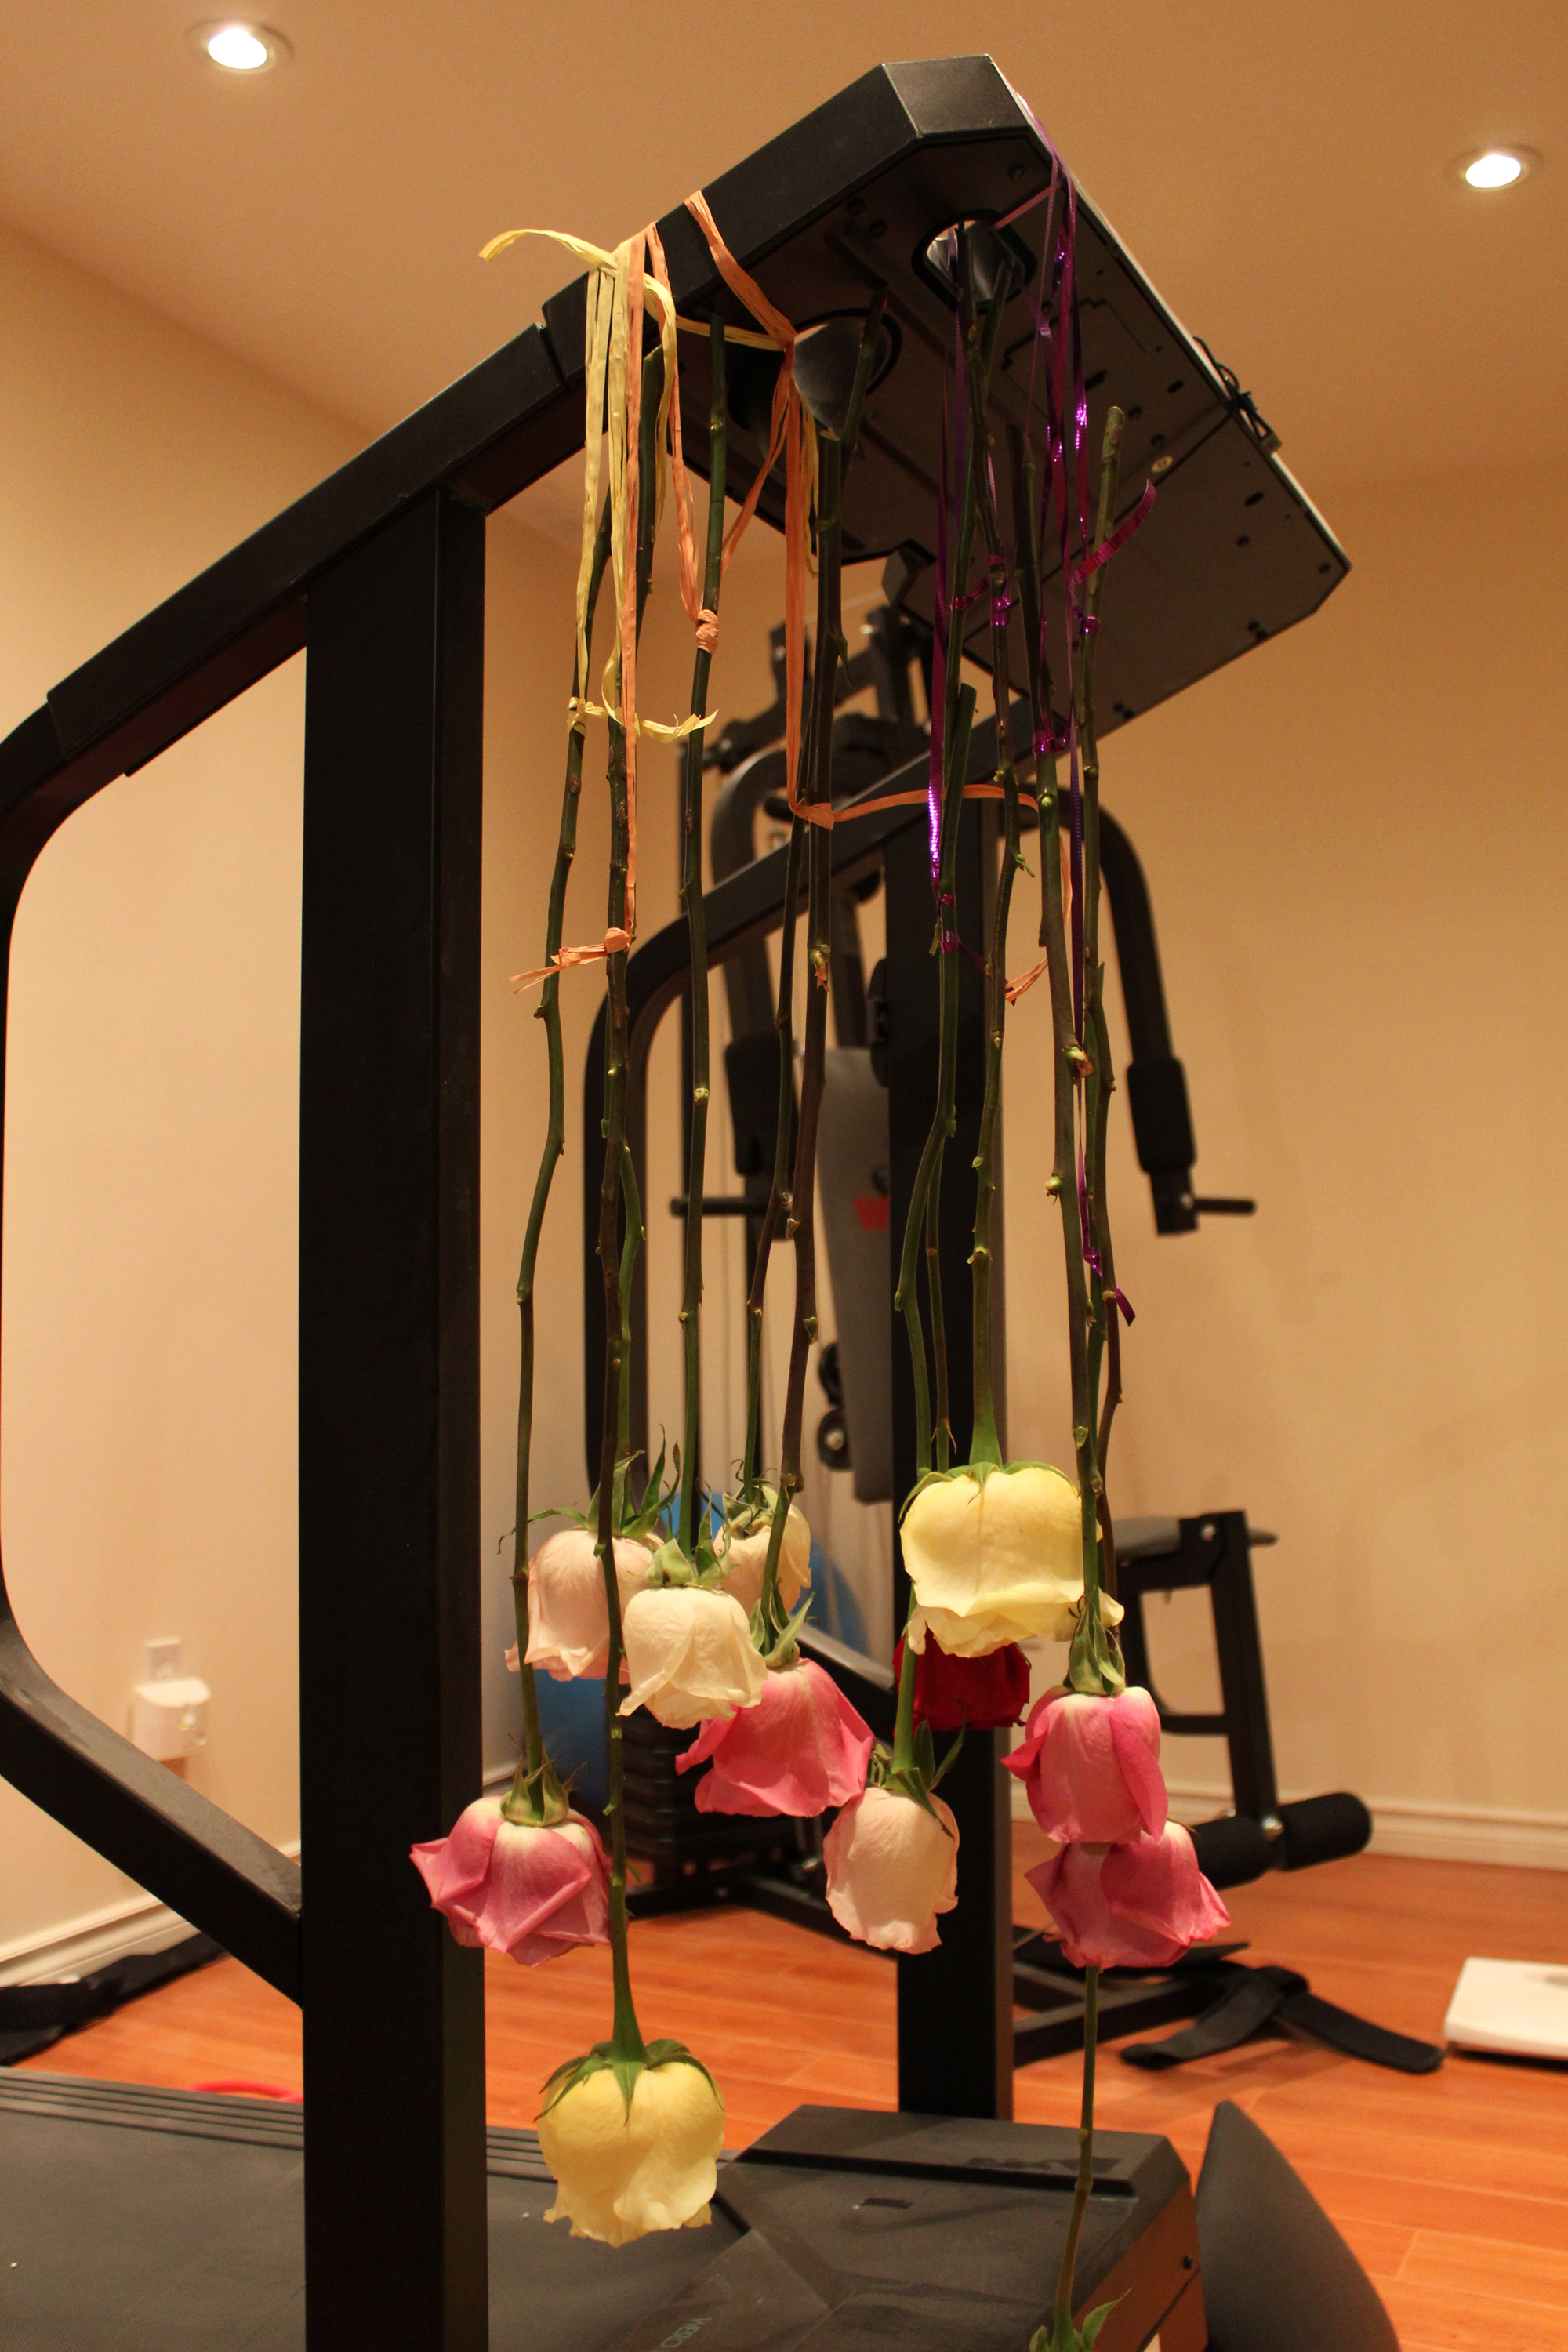
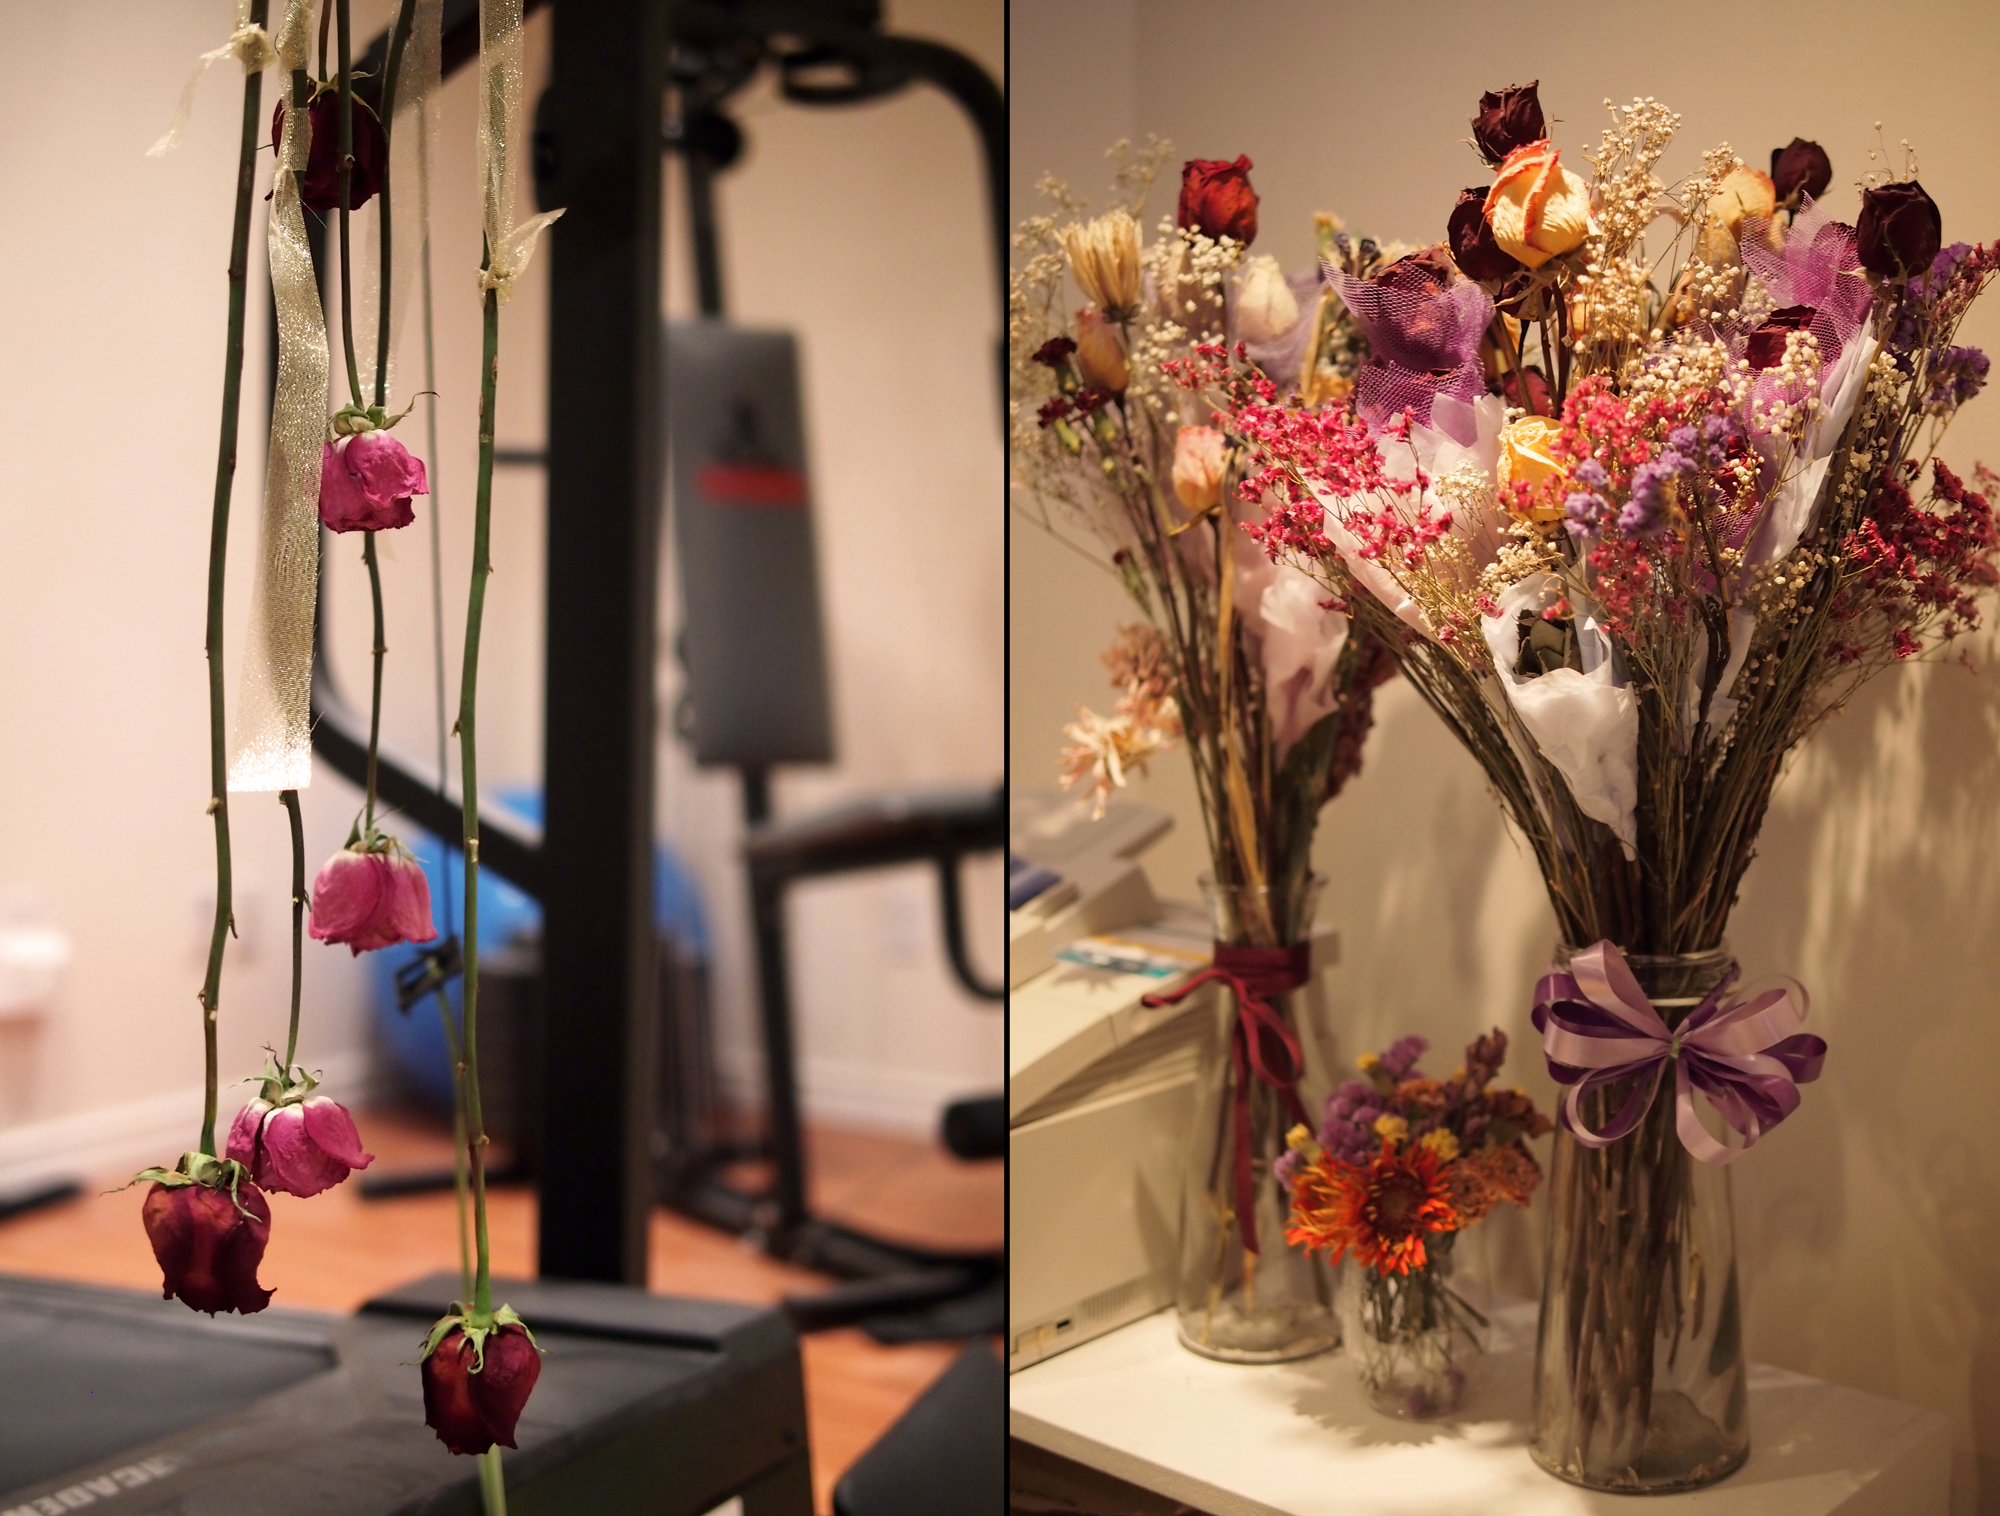
8) Tie up the ends of the flowers and hang them upside down in a cool, dry place away from direct sunlight. I’ve always done this in the basement, and it works everytime. Treadmills work very well for this job ;). It has to be a cool and dry area otherwise mold will grow, and it has to be a dark place because sunlight can lighten and discolour the flowers. I’ve tried to dry flowers other than roses, and although they’ve dried successfully not all can retain their shape ie. petals of dried gerber daisies fall off very easily.

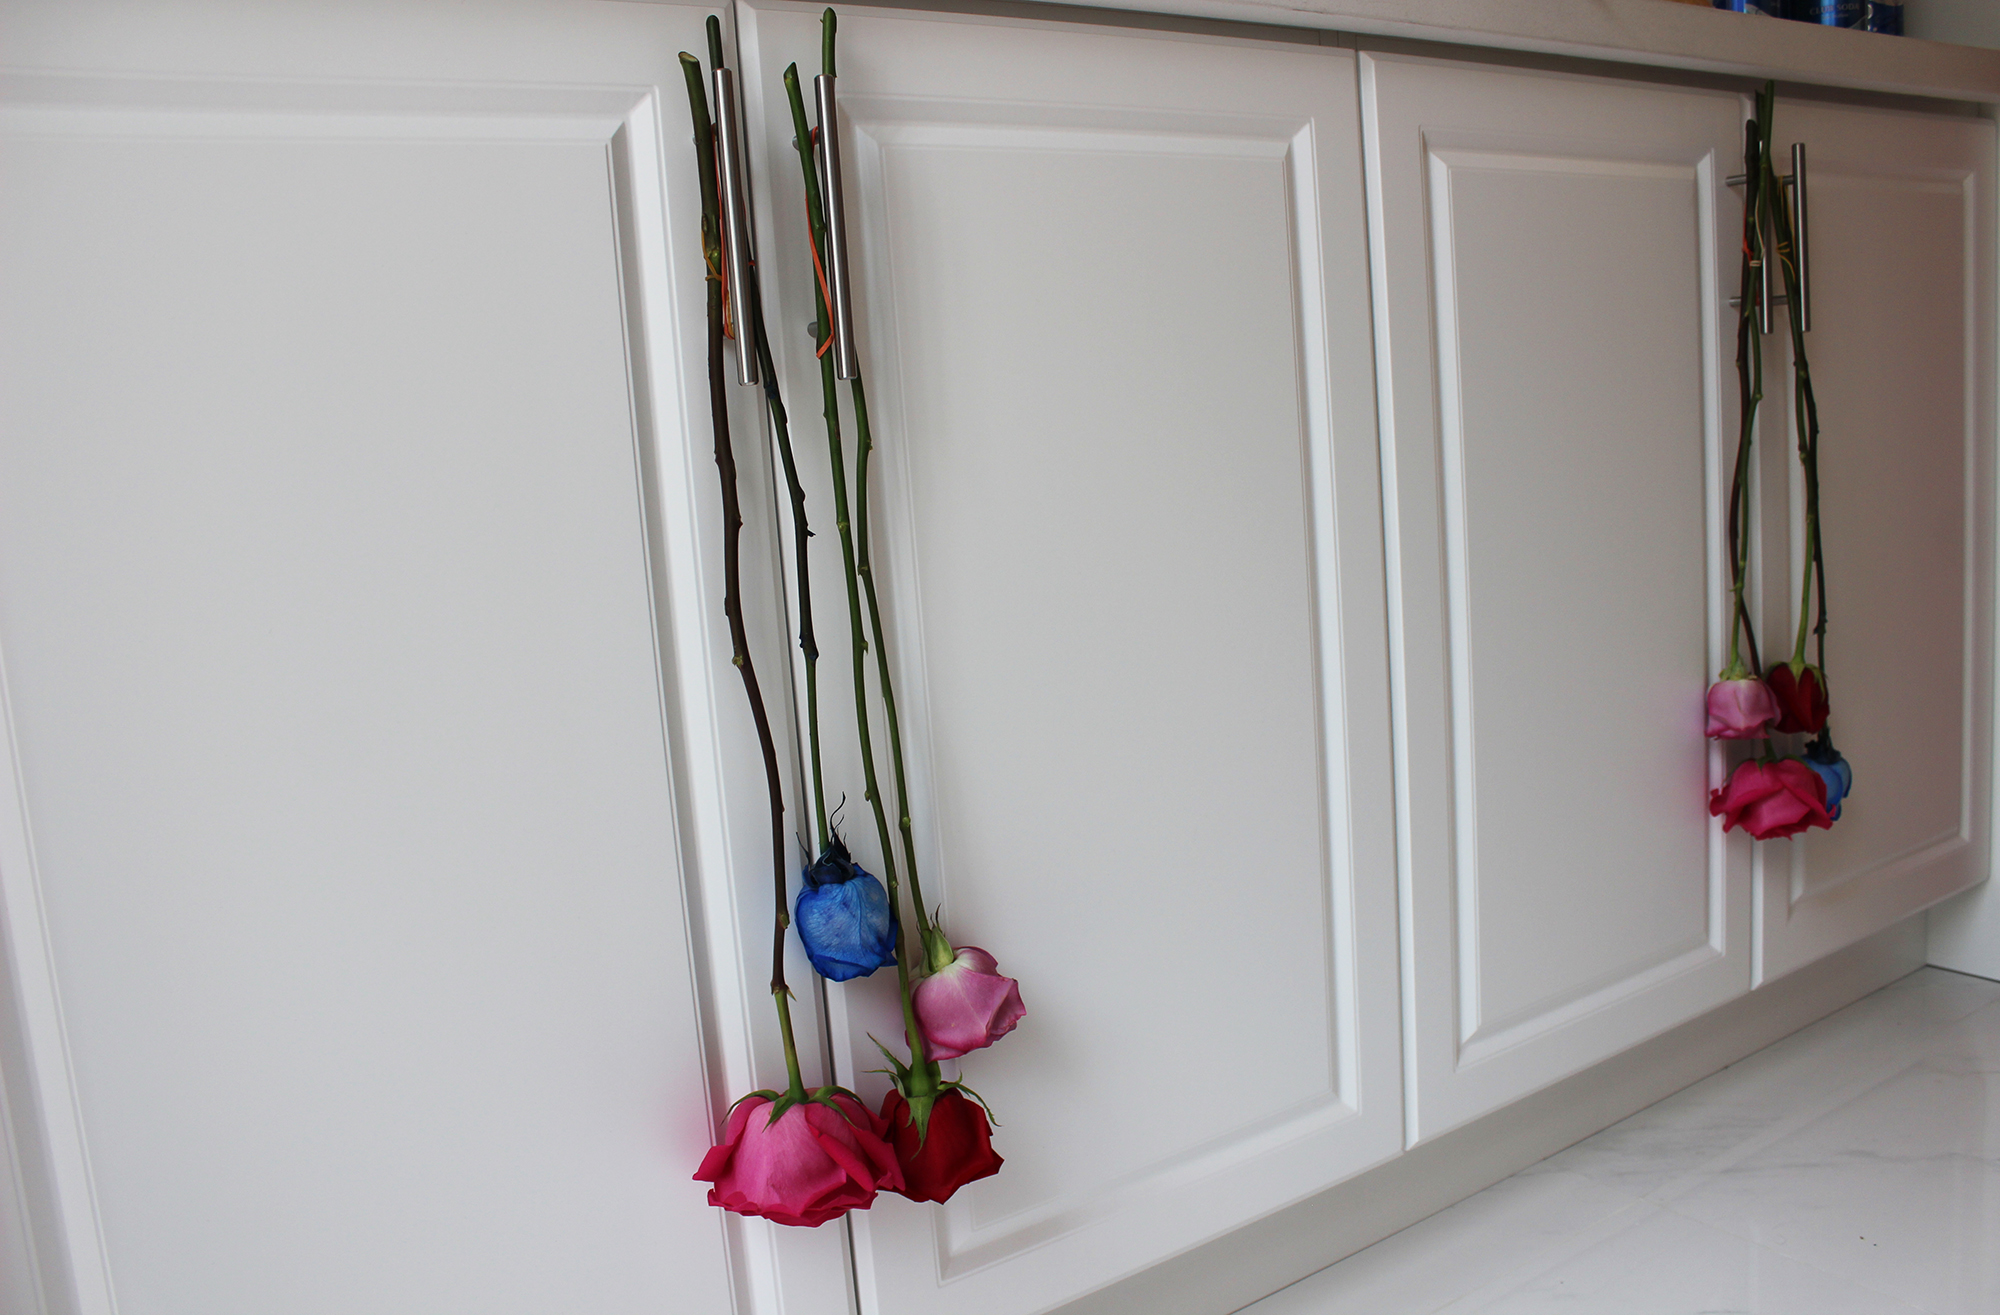
9) Let them hang undisturbed for the next 3 to 4 weeks until the flowers dry crispy to the touch. The colours will darken and intensify, and the stems will shrink in diameter. Be sure to keep an eye on them at least once a week, because sometimes the stems shrunk so much that they slip out of their knots and the flowers fall to the ground. In which case, quickly hang the flower up again or else it will dry imperfectly flattened.
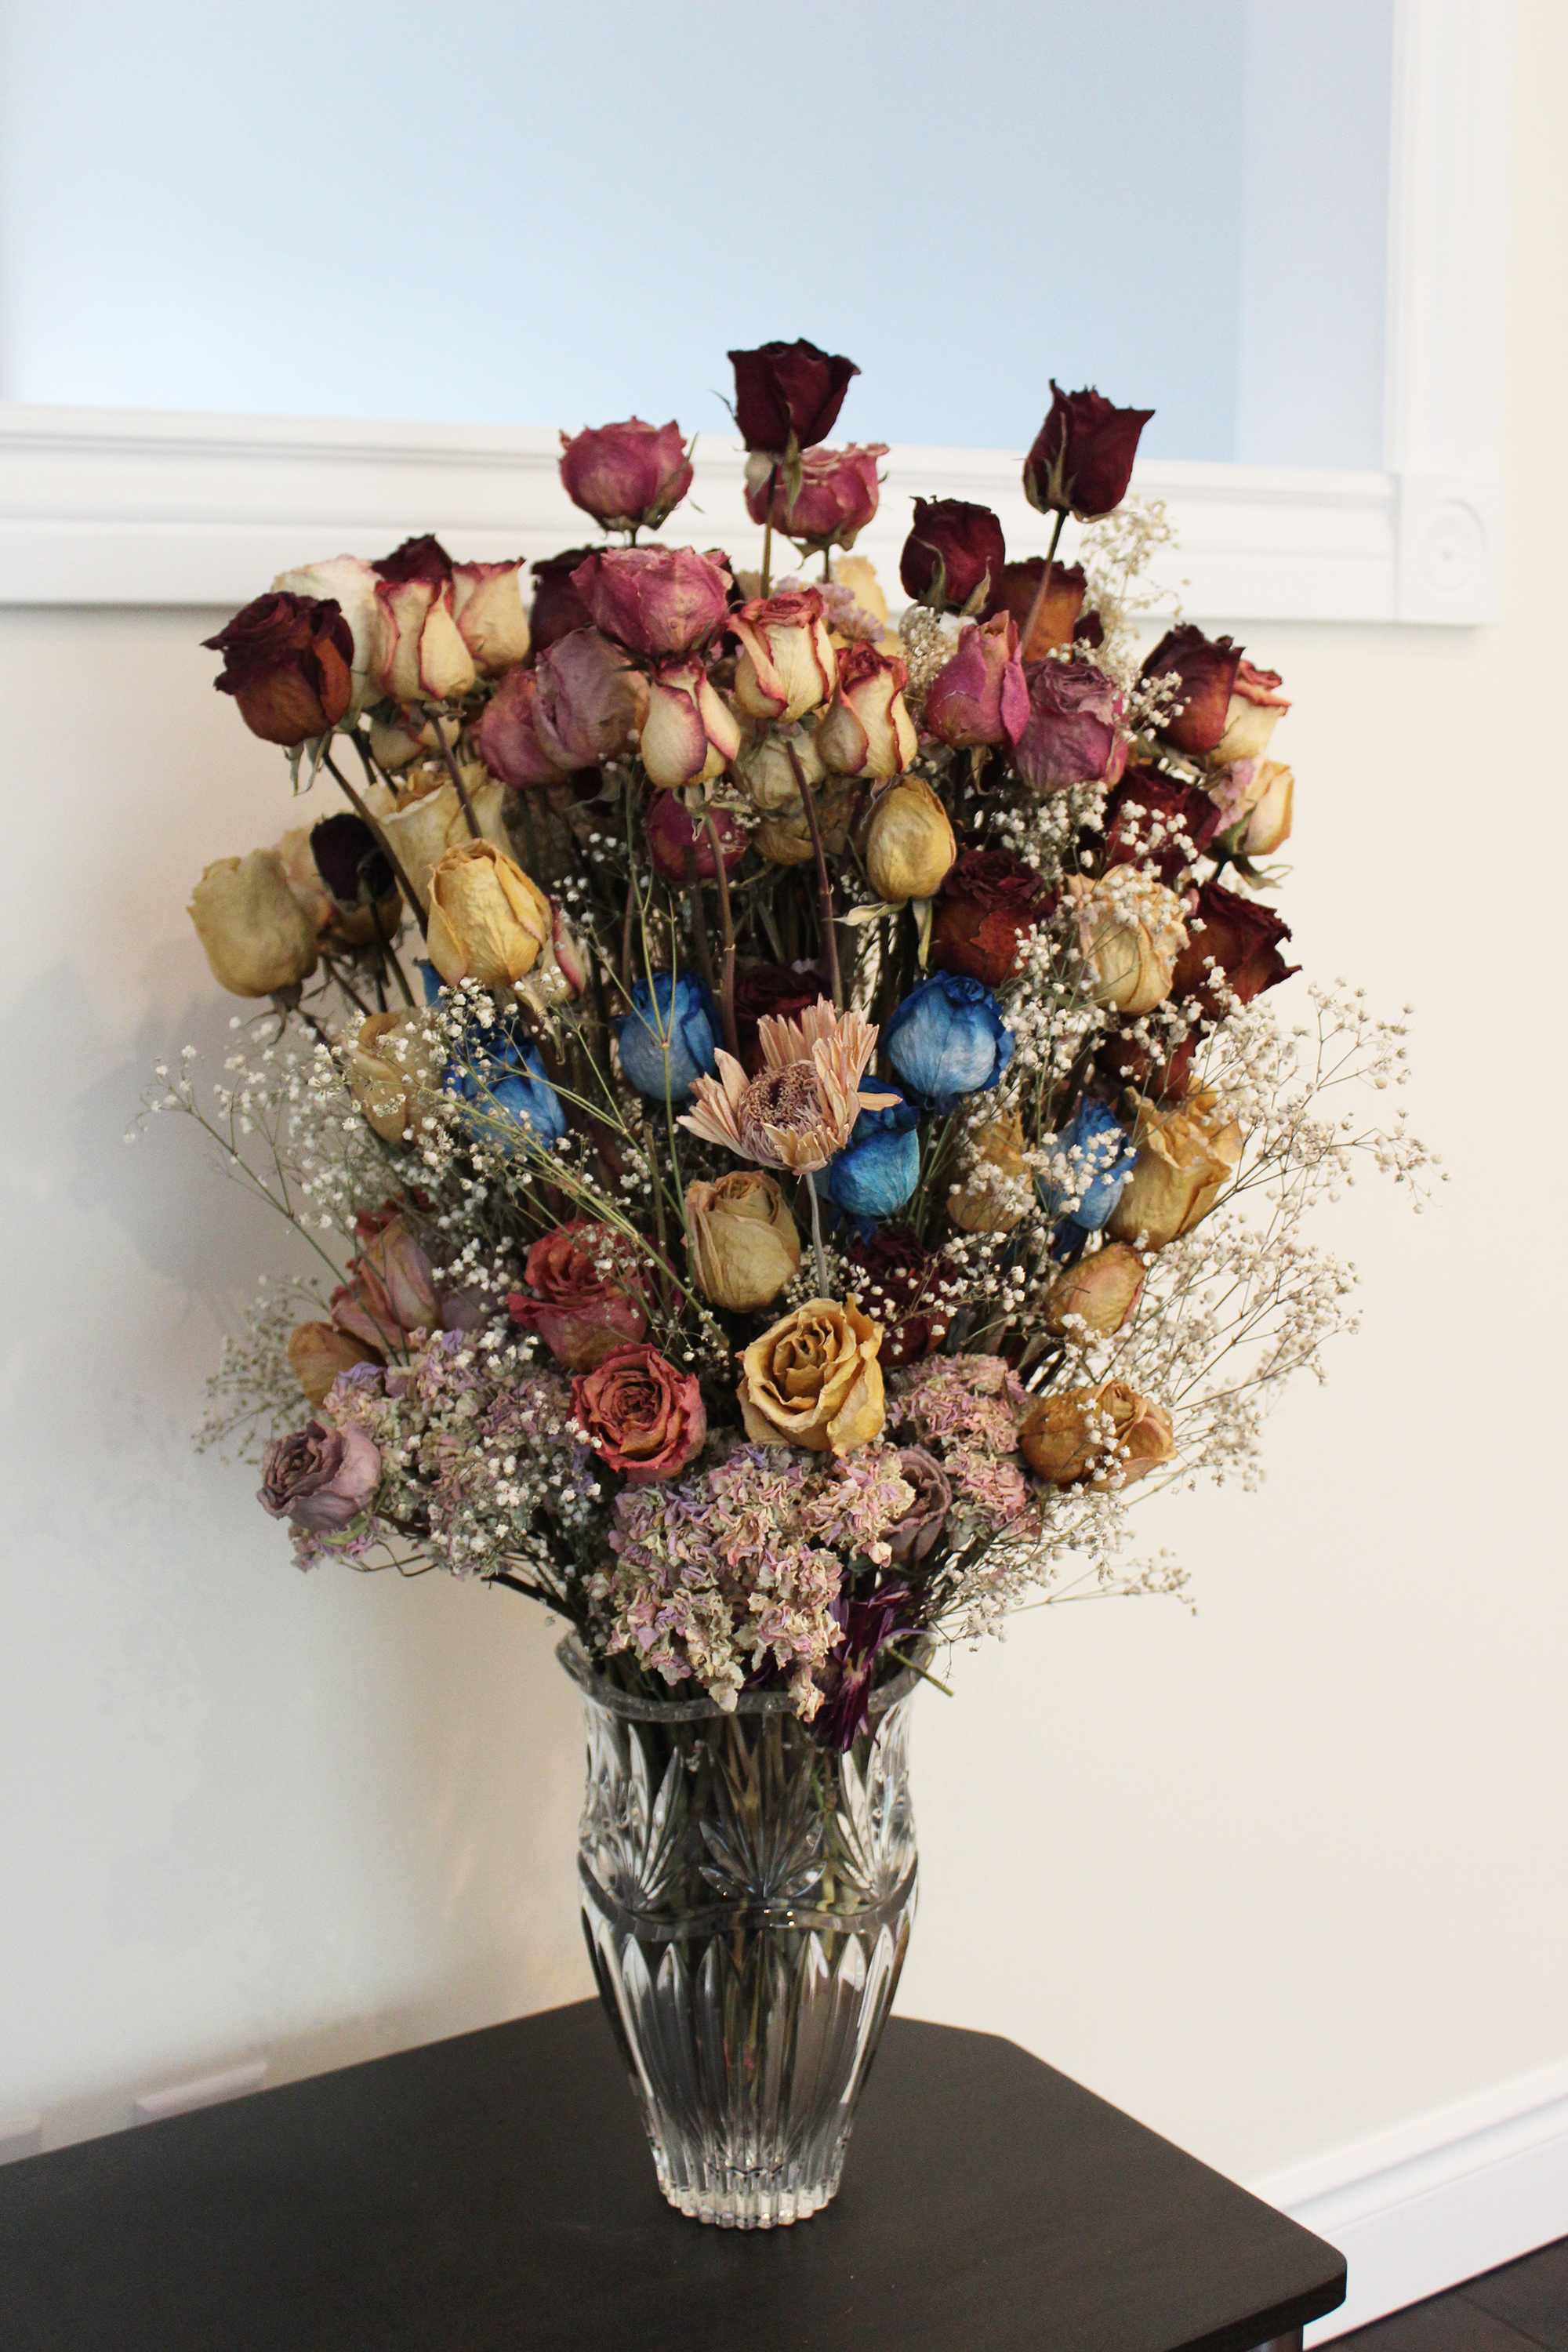
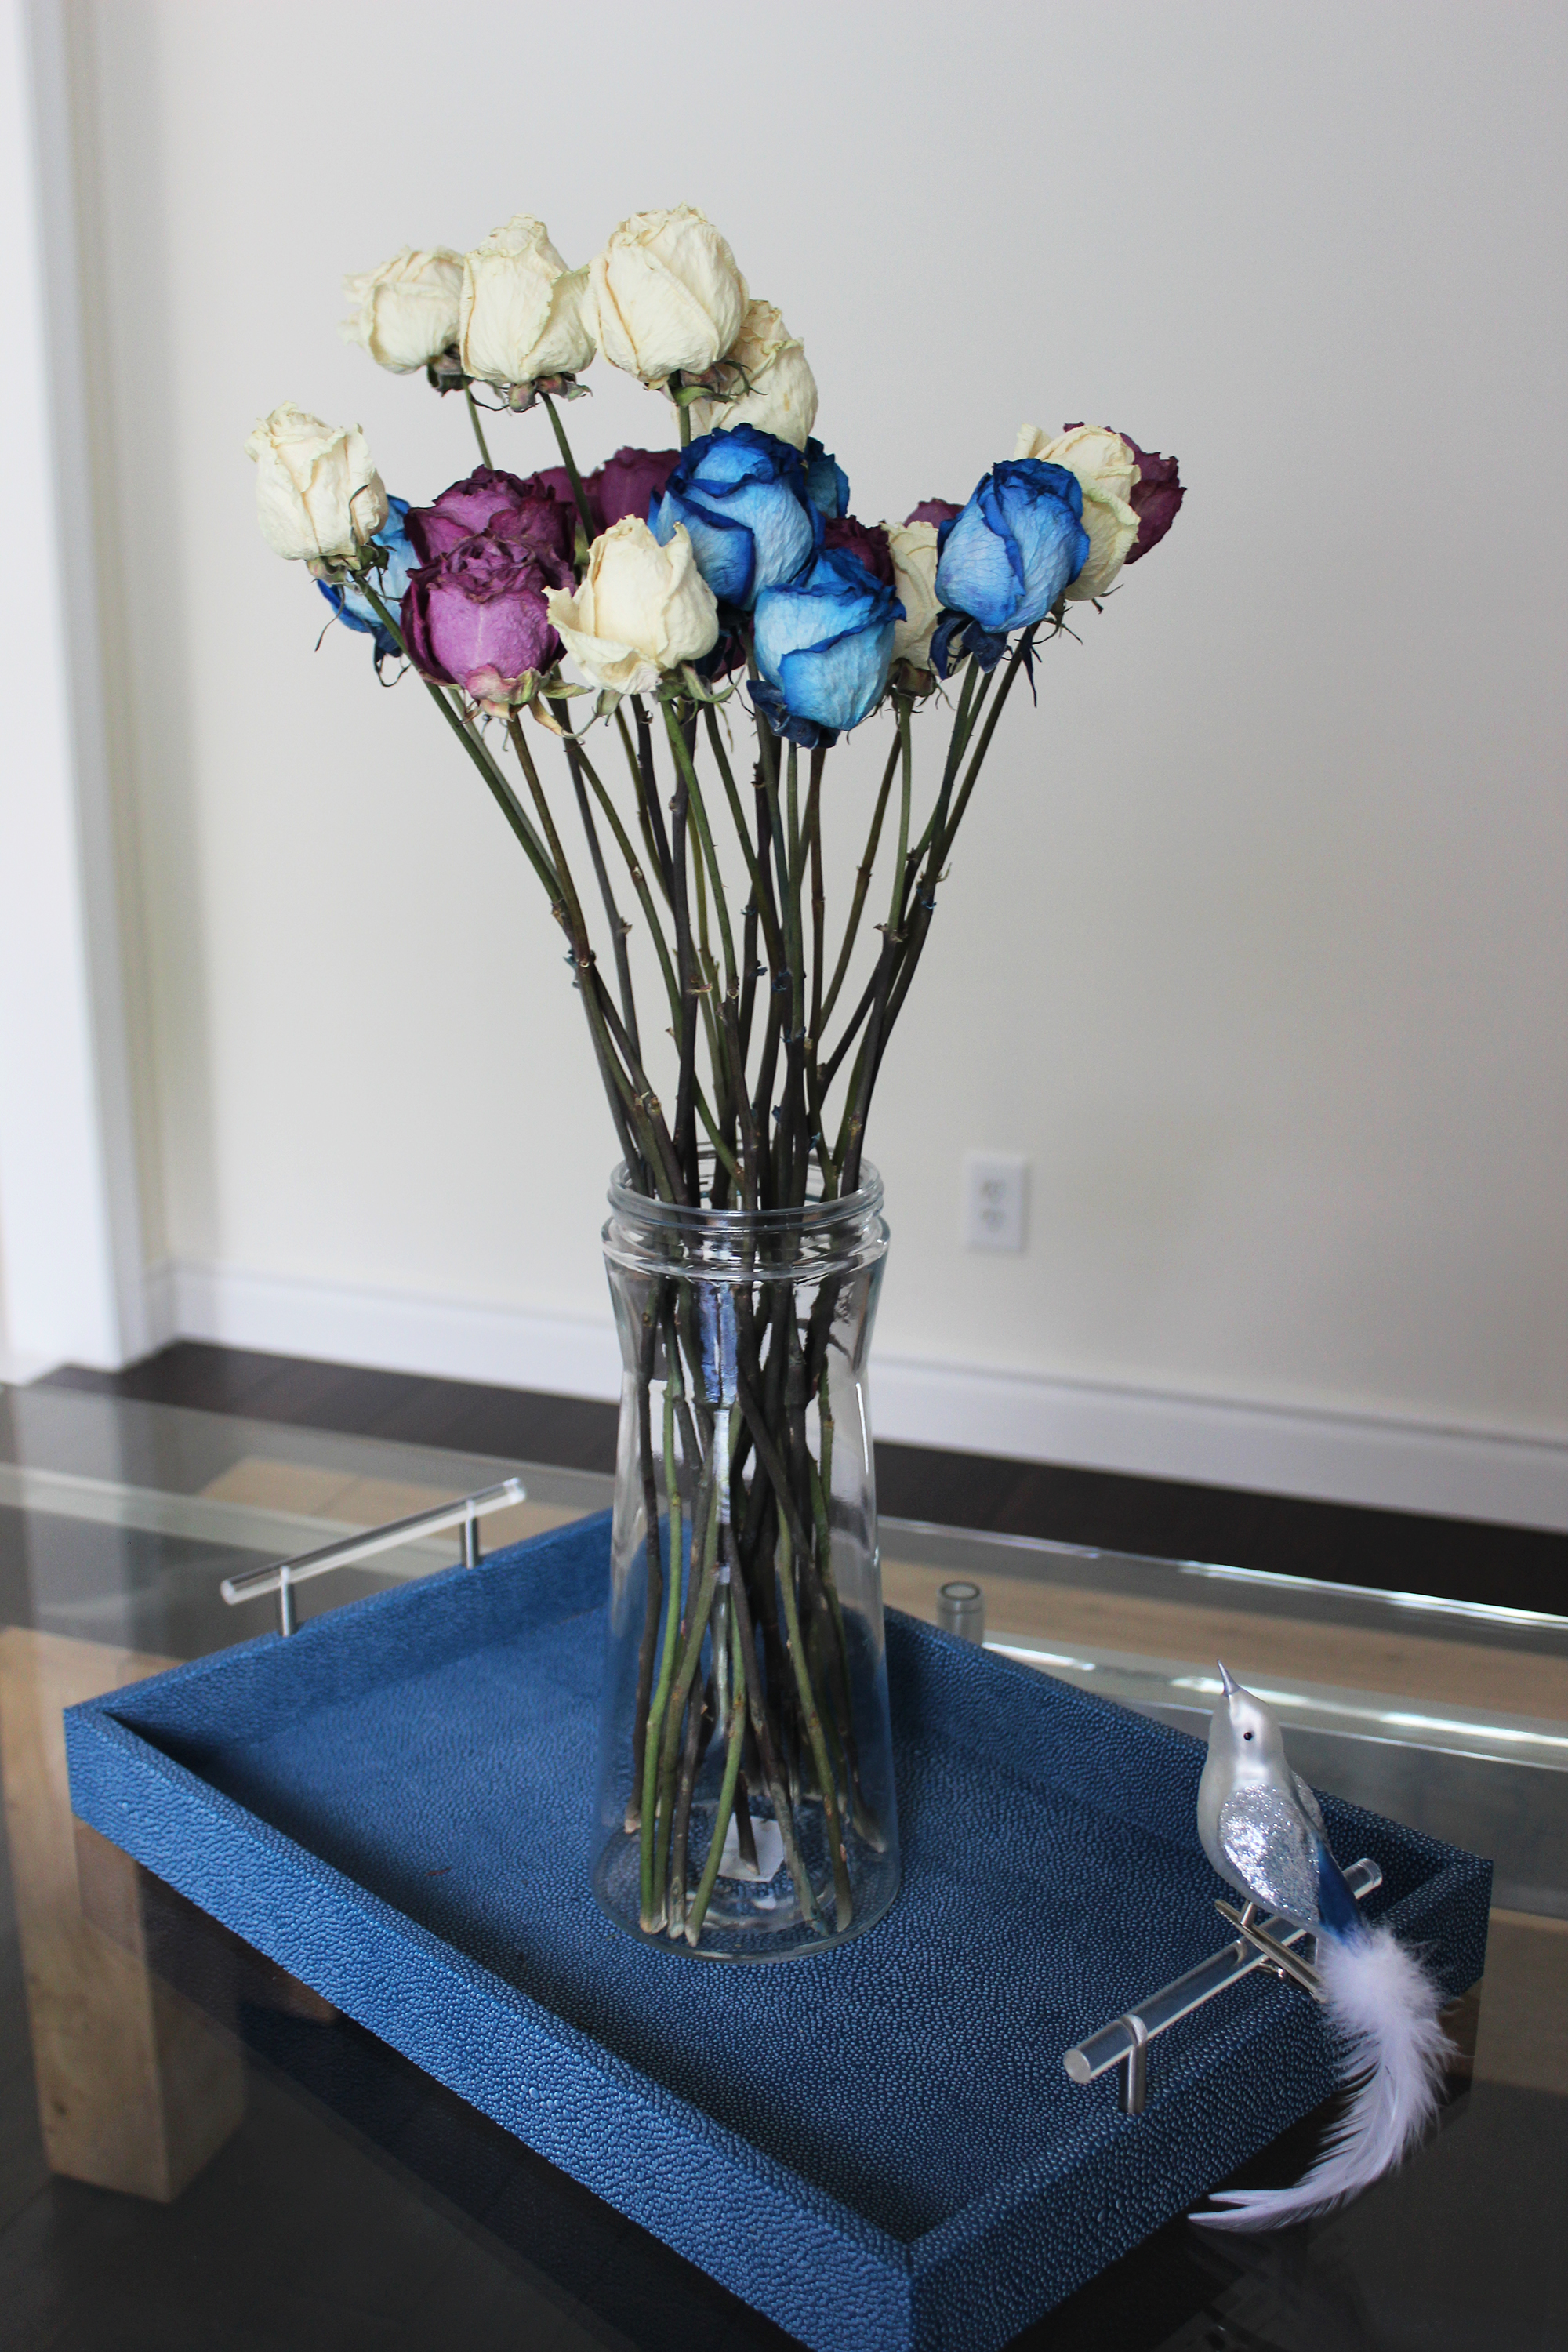
10) Last step: arrange the dried flowers! I bought these glass jars from a dollar store- they were originally meant to hold dried pasta but I removed the lid for this purpose. Dried flowers carry a sweet scent and I think mine smell a bit like cookies, do yours? 😀
